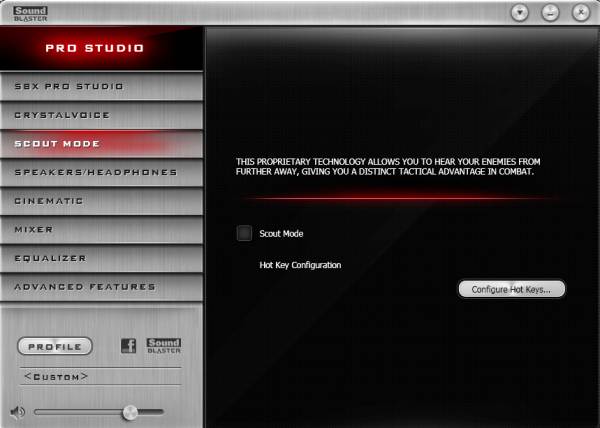
I have a sound card. I guess that's not normal anymore, but out of habit I bought one for my last pc build. I'm happy with it. It has a leet red led and also 'Scout Mode' which (I think) is just an eq setting to amplify footsteps. While I like hearing enemies like the pros, I suspect having a sound card is the source of audio being all screwed up when I export a replay.
Step 1: the editor
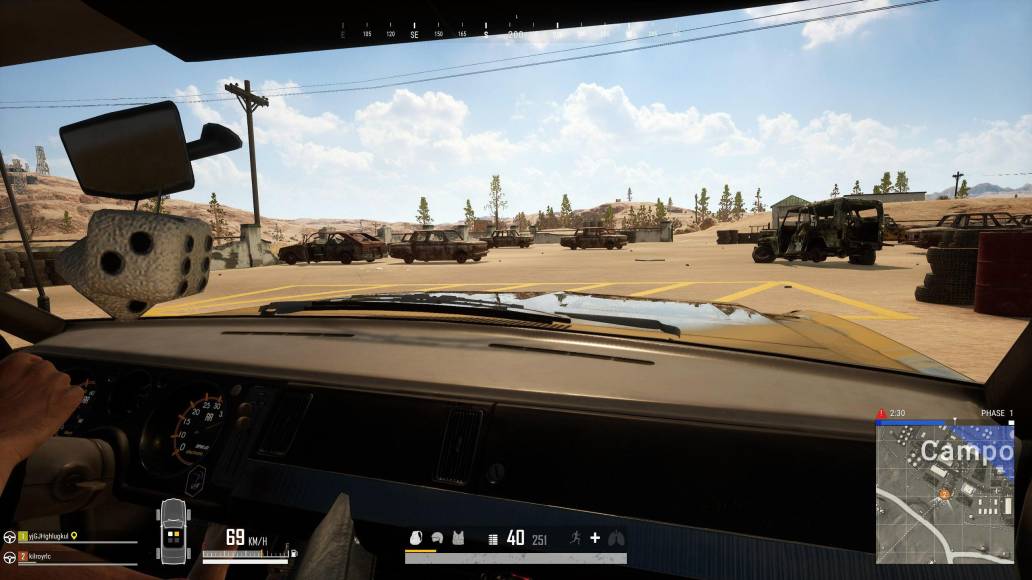
The basics: the replay editor is under 'Career'. The default mode is view-only, 'J' key gives you a timeline to hop around. If you press 'Edit' it will bring up camera controls and the like.
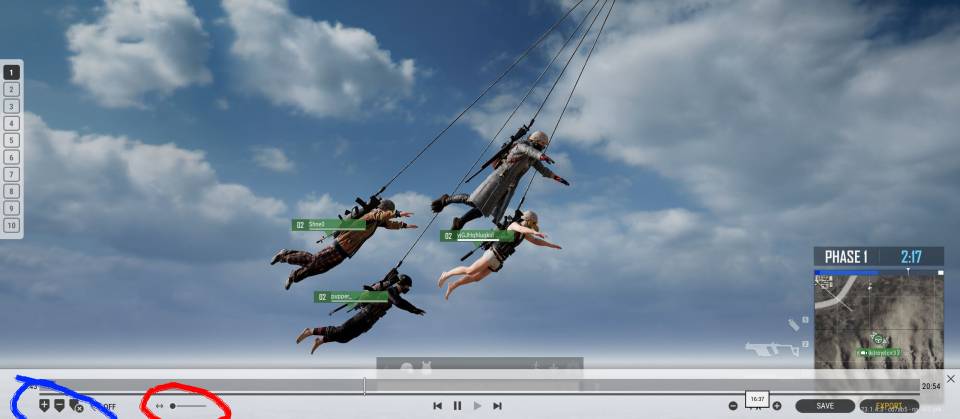
Blue circle:
Add key frame: place a key frame (camera position) using the current view.
Remove key frame: remove the currently-highlighted key frame.
Nuke all key frames.
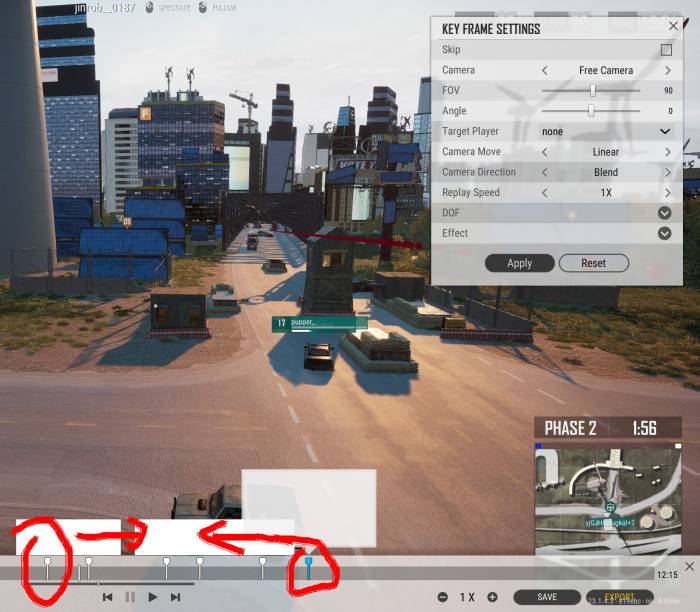
The red circle highlights a slider that controls timeline zoom. For our purposes, find your battle with the timeline zoomed out, then drag this slider to the right (I mostly have it at 3/4ish) so you can navigate your battle's timeline with higher precision.
When you add (or reselect) a camera, you'll see a Key Frame window. Highlighted in red are the fields I typically adjust. Highlighted in blue are the ones I never touch. Some notes:
Camera/Free Camera: also available are FPP and TPP camera. A properly-configured free camera is superior to TPP (I will discuss this later). For FPP I just do a screenrecord with the UI off (Cntl+U) since it's faster.
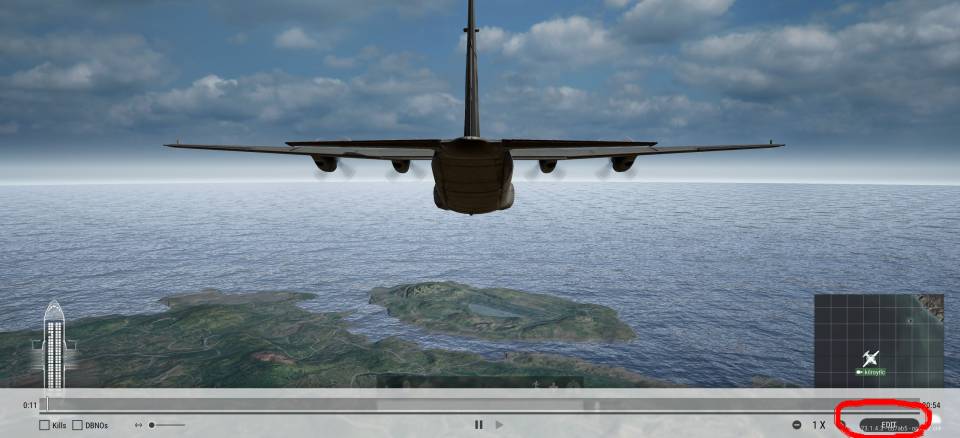
FOV: I occasionally change this, e.g. when shooting indoors.
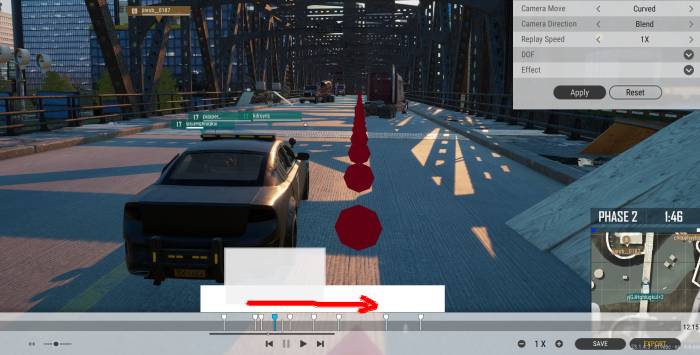
Camera move/curved: I predominantly use this camera mode. It plots a smooth arc between key frames.
Camera move/linear: This looks a little weird if you're zigzagging between key frames, but this is perfect for a camera that is standing still and panning. Other times you want a fixed camera position with linear movement (e.g. a slow pullback).
Camera move/jump: if you're jumping you probably want to export a different clip.
I've found that DOF looks like garbage.
Here's my main tip: place key frames at the beginning and end of your shot and work inward.
Things that look bad:
When your camera changes speed unexpectedly.
When your camera changes direction (path, where it's pointing) unexpectly.
By placing start and end frames first, you can hit play and the camera will follow the smoothest path from start to end. If you place a key frame between them, having the start and end plotted allows you to make the minimal necessary changes to camera position and direction.
Let's take a simple example. Your subject is a car that accelerates away and then maybe runs into a wall. Select your desired starting point in the timeline and hit 'G' to go to free cam. Add a key frame with curved movement. Hit play and either follow the car with your directional keys or jump back into player view 'B'. When the car hits the wall, lay down another key frame with the camera positioned at about the same place relative to the car (e.g. follow cam above the trunk).
This won't look very good (initially). When you rewind and hit play, your camera will move linearly from start to end, so it'll pass the car as it's accelerating. Since the car is always catching up, you won't see it until it finally hits the end of the sequence.
With the endpoints set, go to the halfway point (in the timeline) and using the directional keys, find the car, position yourself in that followcam spot, and add a new keyframe. Now the latter half of the sequence will show the car and you can repeat the process for the front half. In this simple case, you're slowing the camera down for the part of the video where the car is accelerating, but the same principle would apply to other speed changes. Since you're choosing the approximate middle of each time slice, the changes in camera movement speed will be as smooth as possible.
I mentioned previously that any change in camera movement speed looks wonky. That's completely true if you're moving a camera around a fixed scene. In car/player follow mode, if your distance to the subject remains approximately fixed, the change in camera speed looks natural. Any small changes in camera-to-subject positioning actually looks better than the alternative TPP follow cam. To see this in action, go to 2:00 in the video below and mentally compare the shot of the fishtailing sports coupe to one where the camera is locked on where the headlights are pointed.
You can judiciously capture acceleration by working start-to-end rather than endpoints-in, but the latter approach has another advantage. Simply, it looks weird if your camera pans left in one segment and then pans right going to the next key frame. This happens when you're just freely following a target without knowing the direction the camera should be pointing. When you set the endpoints (and then intermediate endpoints) and let the camera chart out its course, you can minimize the panning or ensure it looks right with the next leg of the path.
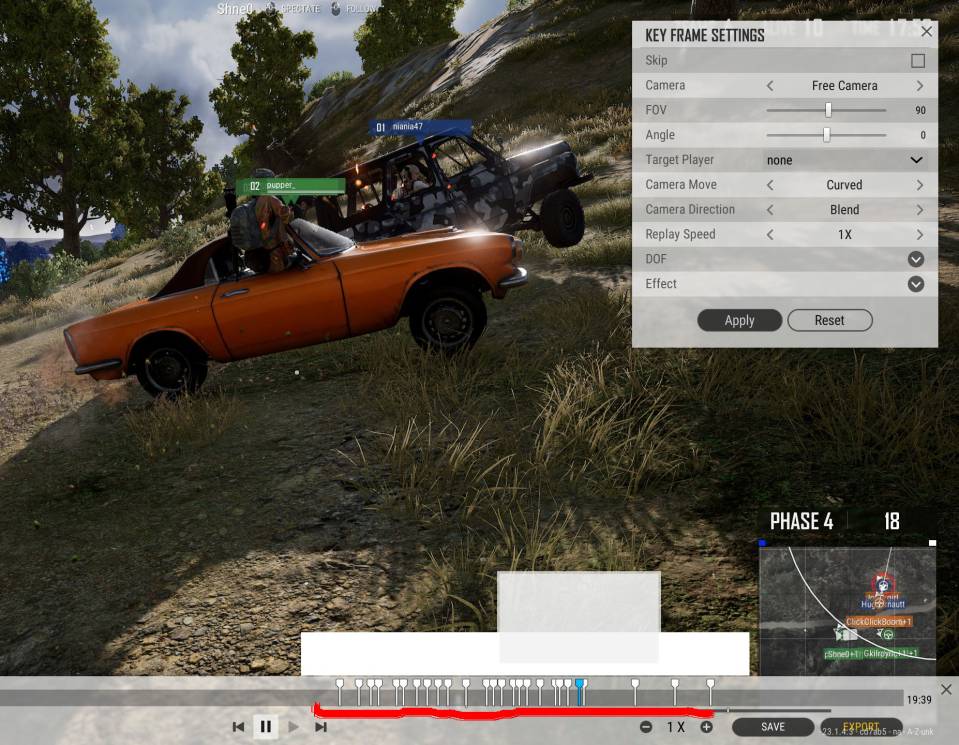
With complex scenes you can end up with a ton of key frames. For the above scene I switched subjects a couple of times and had to deal with elevation change. And that brings up another advantage of the outward-in approach: if your camera path collides with the ground or if you just want to swoop one direction for dramatic effect, it's easy to make these tweaks. Just hit play on your otherwise-dialed-in camera work and pause where you want to change the camera path. Move the camera as desired, add a new key frame, and then replay that segment to ensure it looks right.
For scenes with lots of big changes (like switching your subject), rather than aiming for halves, hone in on these big changes. E.g. set your start/end and then add a keyframe when you switch your subject from player running north to player running south.
Curved camera movement works great in most cases, smoothing out any necessary changes in speed or direction while adding a cinematic feel. Things can get a little wonky when you have sudden changes in speed or position. Going back to the car hitting a wall example, you'd put down a key frame near the wall when the car hits it. Since you don't want your video to end on impact, you'd have another key frame in about the same place but tens of seconds later. If this was done with a curved camera path, the interpolation would probably handle the sudden stop by arcing the camera through the wall and back. Because math.
In this case, you want to use a linear camera for those final two key frames.
And that's it
Really that about covers it. Camera control can get a bit finicky, but with a little practice, camera control is as simple or complex as the scene you're shooting.
Step 2: the audio fix
My solution to the audio issue is this:
Use the replay editor's export as normal.
Do a screen record the thing.
Merge them using other tools.
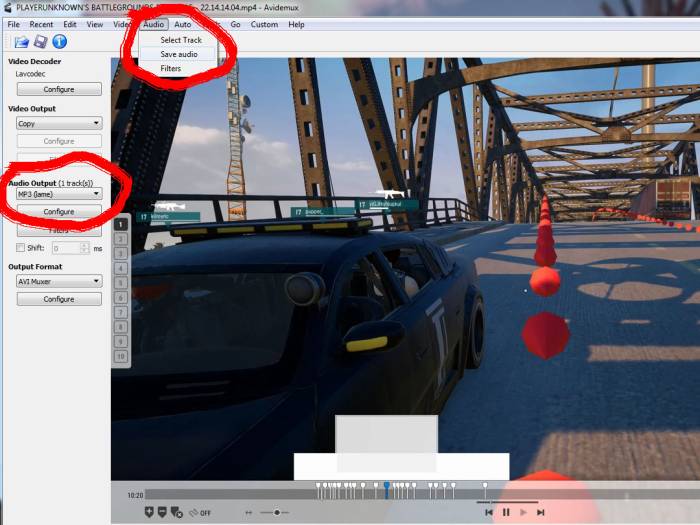
Using Avidemux I rip the screen record audio to an mp3 that I can separately add to the exported webm clip.
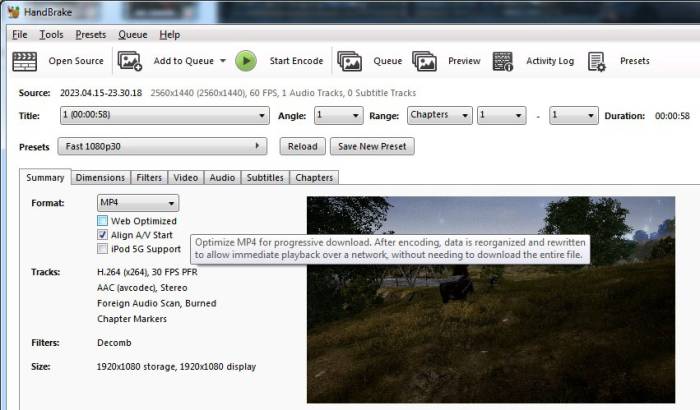
Handbrake converts the webm format that the PUBG replay editor exports to an mp4. It also lets me mute the messed up webm audio.
Step 3: final cut
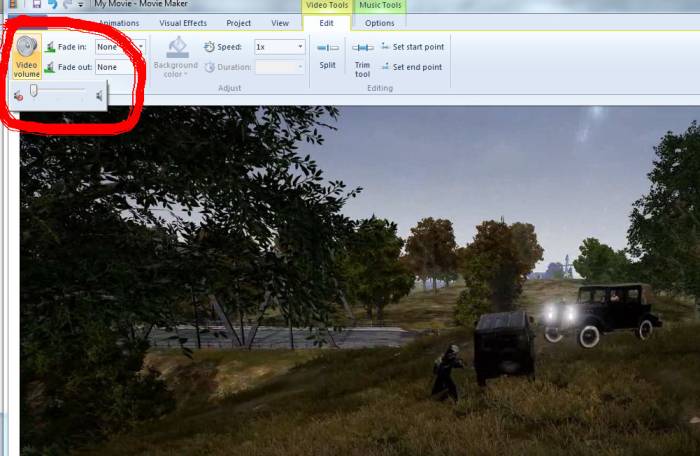
If I neglected to silence the messed up webm audio in Handbrake, WMM can do it.
I use Windows Movie Maker because I don't have the patience to relearn Premiere and WMM does most of what I want. I try to hit Step 3 with a handful of clips, including different battles and different viewpoints of each battle. Longer, more consistent shots are preferable, but sometimes an FPP/TPP or reverse follow cam has really good stuff.
The mp3 ripped from the screen record can be added as an audio track (normally meant for music). The only caveat here is that the audio/video start points need to be synced.
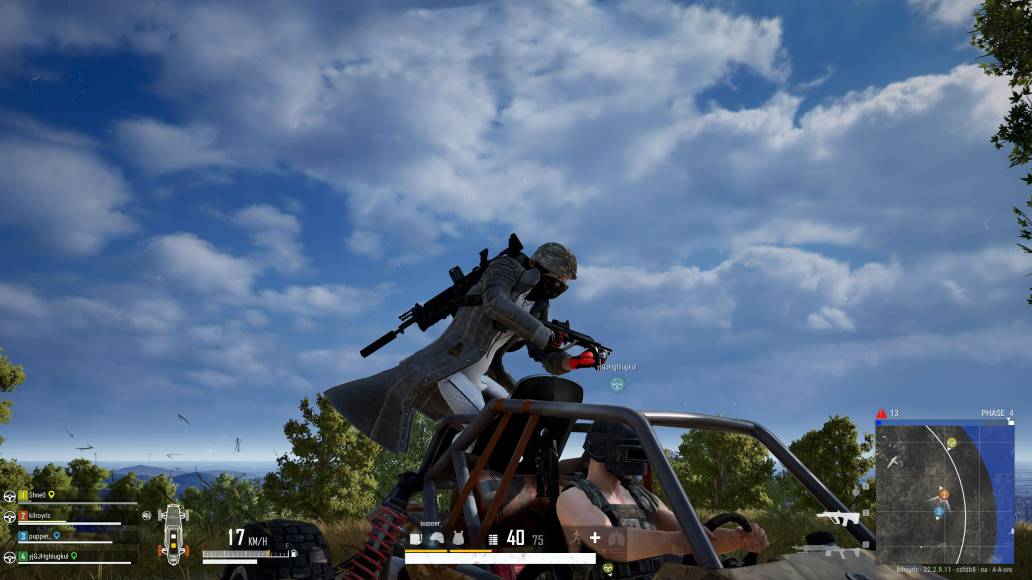
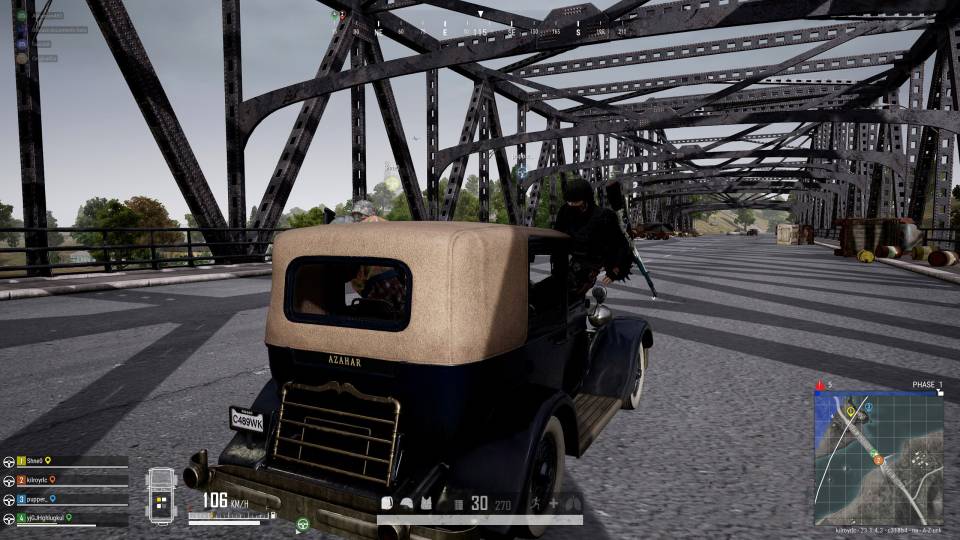
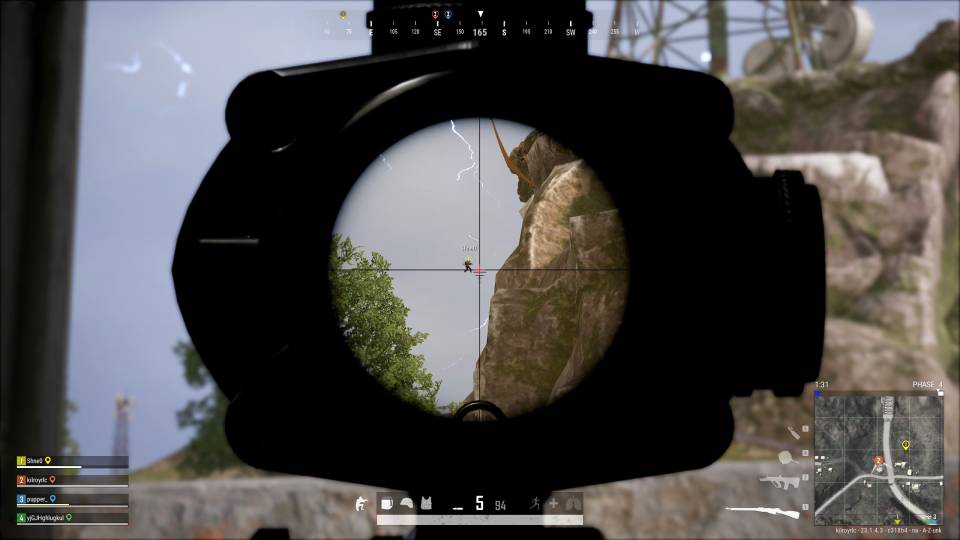
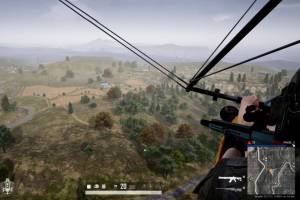
Here's my latest, featuring the new UAZ skin and a stealth glider kill attempt:
Risky click advisory: these links are produced algorithmically from a crawl of the subsurface web (and some select mainstream web). I haven't personally looked at them or checked them for quality, decency, or sanity. None of these links are promoted, sponsored, or affiliated with this site. For more information, see this post.
It's rare, but exhilarating, when you watch a movie with a unique take on film's visual language, without the crutch of extensive computer generated imagery. That's precisely the beauty of Birdman or (The Unexpected Virtue of Ignorance). The film is directed and co-written by Alejandro González Iñárritu (Biutiful, Babel, 21 Grams) and features a dynamic...


![[+]](https://www.chrisritchie.org/kilroy/archive/2023/01/trophy.jpg)
![[+]](https://www.chrisritchie.org/kilroy/archive/2015/07/warrior.jpg)
![[+]](https://www.chrisritchie.org/kilroy/archive/2022/12/trump_musk_nft.jpg)
![[+]](https://www.chrisritchie.org/kilroy/archive/2019/01/viscera_cleanup_mop.jpg)
![[+]](https://www.chrisritchie.org/kilroy/archive/2022/12/elon_twitter.jpg)
![[+]](https://www.chrisritchie.org/kilroy/archive/2015/02/far_cry_view_00.jpg)
![[+]](https://www.chrisritchie.org/kilroy/archive/2022/11/archangel.jpg)
![[+]](https://www.chrisritchie.org/kilroy/archive/2017/05/dying_light_stadium.jpg)
![[+]](https://www.chrisritchie.org/kilroy/archive/2022/10/travel.jpg)
![[+]](https://www.chrisritchie.org/kilroy/archive/2016/04/division_helo_00.jpg)
![[+]](https://www.chrisritchie.org/kilroy/archive/2022/11/elon_twitter_ai_birdhead.jpg)
![[+]](https://www.chrisritchie.org/kilroy/archive/2020/09/da_bears.jpg)
![[+]](https://www.chrisritchie.org/kilroy/archive/2022/11/zebra.jpg)
![[+]](https://www.chrisritchie.org/kilroy/archive/2015/11/deezer.jpg)