Infopost | 2023.11.26

Stray video game
Welp, she's figuring out dual stick controllers with a little help from Sloth.

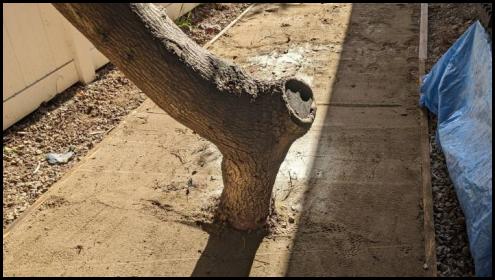
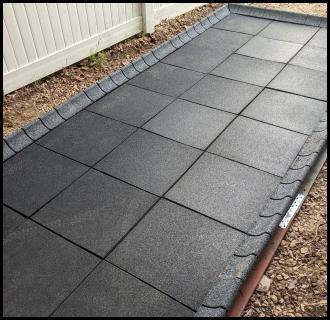
My Thanksgiving project was to create an 18'x5' play area (with rubberized flooring) in the heretofore-unused sideyard. And there are a few odds and ends at the bottom of this post.
Sideyard play area

Jes and I have been moving from surface to surface in the yard, replacing everything that was previously filled with pointy rocks and/or junipers. Some areas had a v2 in the past 15 years, but now I'm older, wiser, and better able to afford renovations.

This brings us to the east sideyard whose critical features are the following:
Jes is always eyeing a new play area though we kicked around the idea of a dog run or dromedary pen. I briefly considered installing a slide but we settled on a more age-independent feature since Dani would probably be past sliding age by the time I finished. The winning proposal was a small, rubberized play area where the little one can hop/tricycle (now), jumprope (soon), and do yoga or whatever (later).

Step 1: prep and order

Interlocking rubber gym floor tiles

Both of the big box hardware stores ship (not stock) rubberized playground/gym tiles that lay on any flat ground.

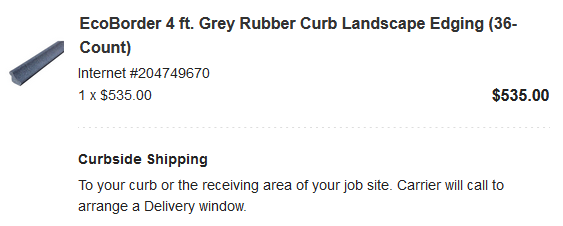
Rubber curb landscape edging

Napkin measurements indicated that we needed 32 tiles: 11 x 3 - 1. The manufacturer makes ramp thresholds but the Q&A said those are optional and mostly for creating a raised surface on, say, concrete. Also, in line with the laws of flooring economics, the ramps are considerably more expensive. This didn't matter to us though, we needed a barrier threshold to keep the landscaping out of the playspace and the kid vomit out of the landscaping. For this we ordered rubberized gardening curbs which are made of very much the same shredded tires stuck together with adhesive.

Step 2: level

Sideyard renovation playground tile installation leveling

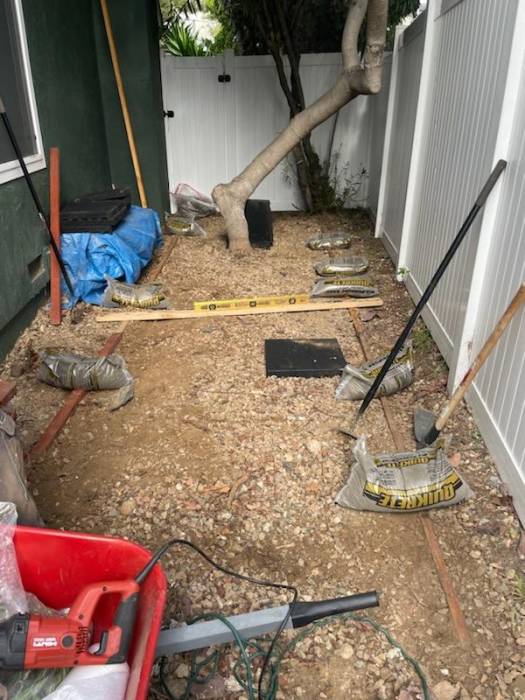
The installation info said that the ground should be flat and level. I sank a couple of 2x2 guides into the ground with ample buffer to my expected tile surface dimensions.

Sideyard renovation playground tile installation leveling

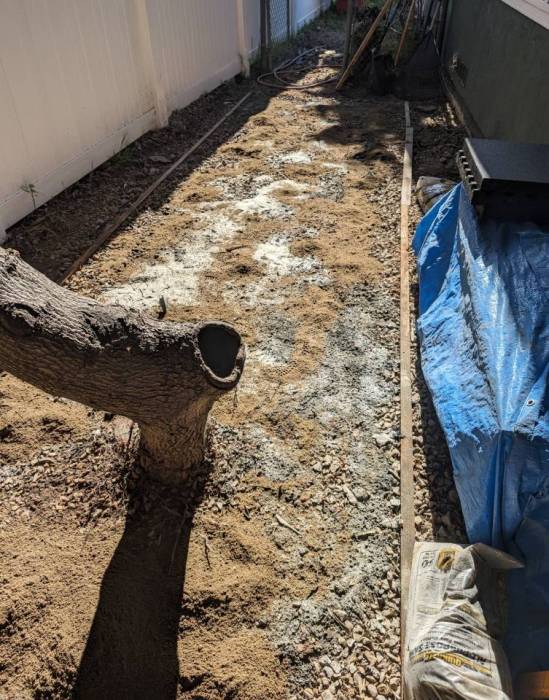
The ground in the sideyard is rocky - good for drainage and firmness, bad for flatness. After a few passes with my flattening 2x4, I added concreting sand.

Sideyard renovation playground tile installation leveling Sideyard renovation playground tile installation leveling

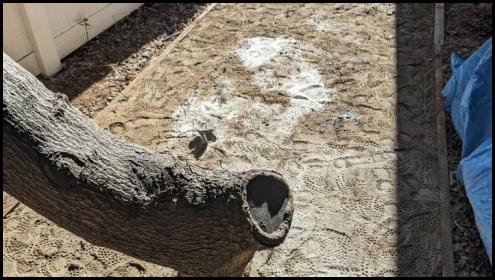
My retired turf cleats are in the work shoe rotation, it turns out the studs are a great way to see what was under level.


Sideyard renovation playground tile installation landscaping felt

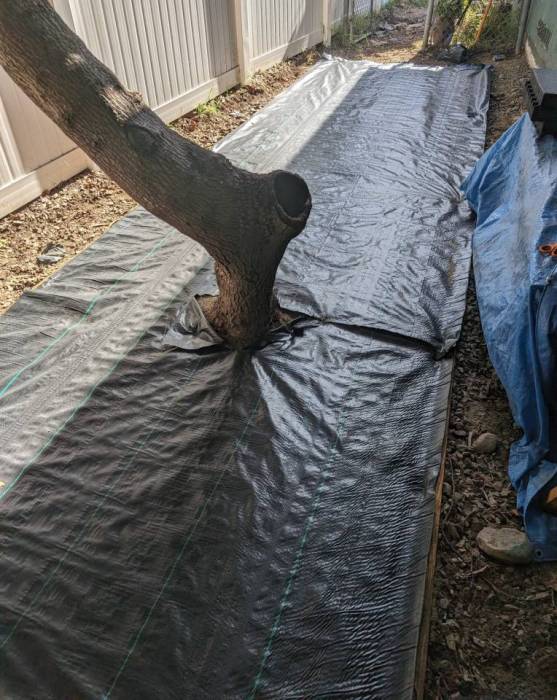
Lastly I applied landscaping fabric to keep the sand and tile separated.

Step 3: tile

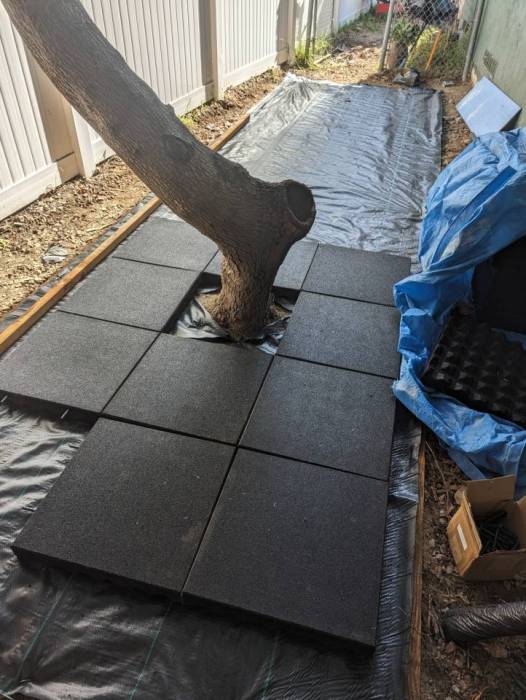
Sideyard renovation playground tile installation connectors

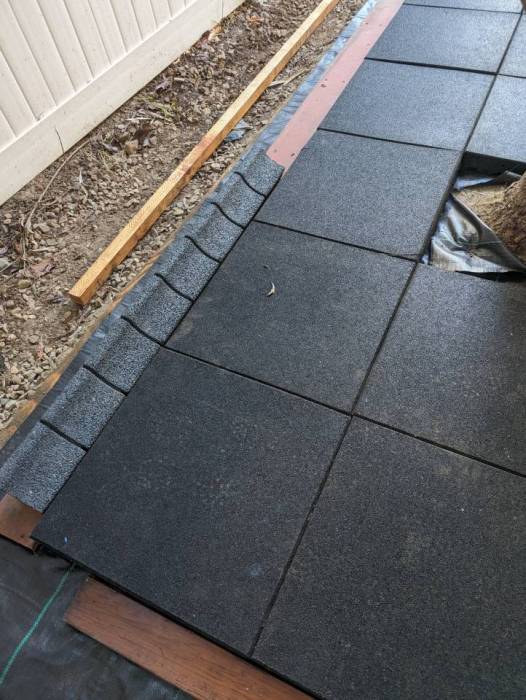
The tiles lay next to each other and connect with plastic pins. The pins don't prevent the tiles from floating away from each other so it became apparent I'd need a firm boundary. The landscaping felt is kind of a pain to slide the tiles on since it wants to bunch up in the gaps. These things are probably a lot easier to install on concrete.

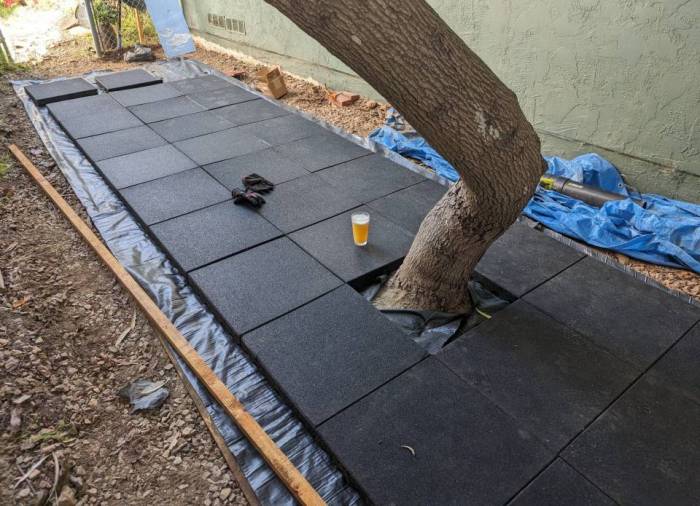
Sideyard renovation playground tile installation

The tiling part went pretty quickly. Though my subsurface isn't perfectly flat, I did notice cases of Cybertruck-esque manufacturing tolerance in the tiles (which is somewhat understandable since they are just rubber smashed together).

Step 4: boundary curb

Sideyard renovation playground tile installation rubber curb

The 2.5" tall tiles towered above the 1.5" landscaping curbs but it was okay because (as previously mentioned) I needed something to squeeze the tiles together. I considered pouring concrete but it'd be way too thin and staking the curbs would become a problem. Fence planks were the perfect height, but wood on the ground is a nonstarter.

Aha! I had some synthetic deck boards salvaged from an earlier project that I had since disassembled. Using strong tie connectors, the boards framed the tiles nicely. The synthetic frame gave the rubber curbs their needed height boost and a solid foundation to send their stakes through.

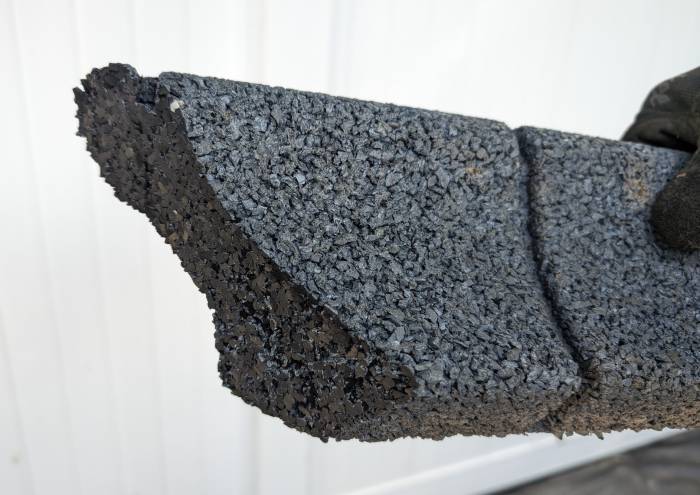
Sideyard renovation playground tile installation rubber curb cut 45 degree

By far the most annoying thing was cutting the curbs to 45-degree corners. I guess the intended application is just bendy sections and the "cuts easy with a sawzall" faq refers to the notched sections. My miter saw did it but it was not great. The rubber melts and smokes and flies everywhere and I probably need to buy a new blade. EcoBorder, please, sell corner connectors.

Step 5: 'mire

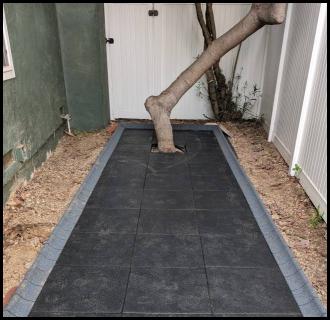
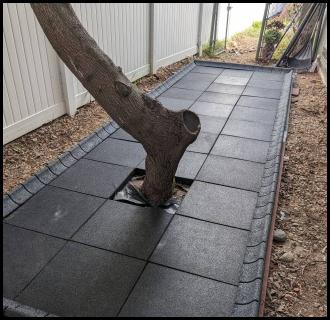
Sideyard renovation playground tile installation complete Sideyard renovation playground tile installation complete Sideyard renovation playground tile installation complete

Ignore the bricks, they're pinching the adhesive-joined corners together. Next weekend I'll cover the fringe with more landscaping felt, then at some point we'll bring in wheelbarrows of large stones to surround the jumprope/soccer/kumite area.
Other renovation stuff

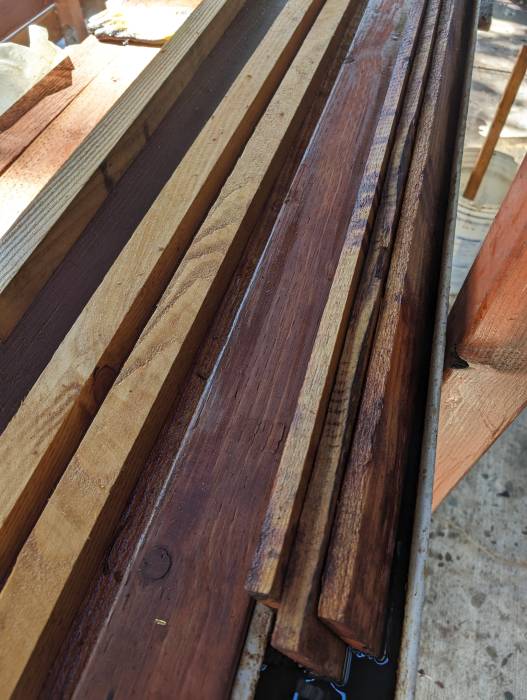
Wood treatment fence plank linseed oil bath rain gutter
The light angle makes this look rather dreary.

And now for another installment in the saga of making wood resistant to sun, rain, and termites: the linseed oil bath. Part I: shou sugi ban, Part II: linseed oil soak. There was some room to improve on the soak - it requires doing everything in a weekend and my setup was rather leaky. With a 10' rain gutter and a lot of time, I've been able to give the boards a lengthy opportunity to sponge up the oil and hopefully become distasteful to termites.

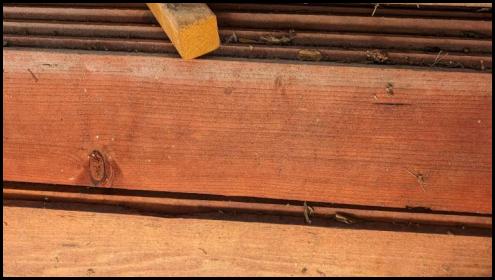
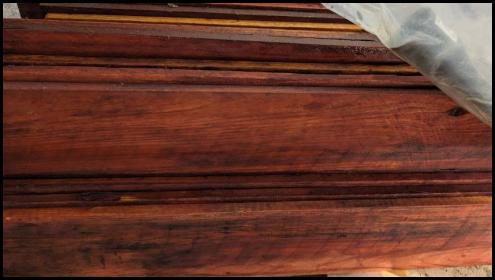
Fence planks redwood Linseed oil bath fence planks redwood

Here are boards from the before pile and the after pile, each having sat for at least a couple of weeks. The wet look is encouraging however it probably means the board will quickly collect particulates from the air and end up looking rather dirty.
Etc.

Guadalupe Brewery Tap House Vista patio

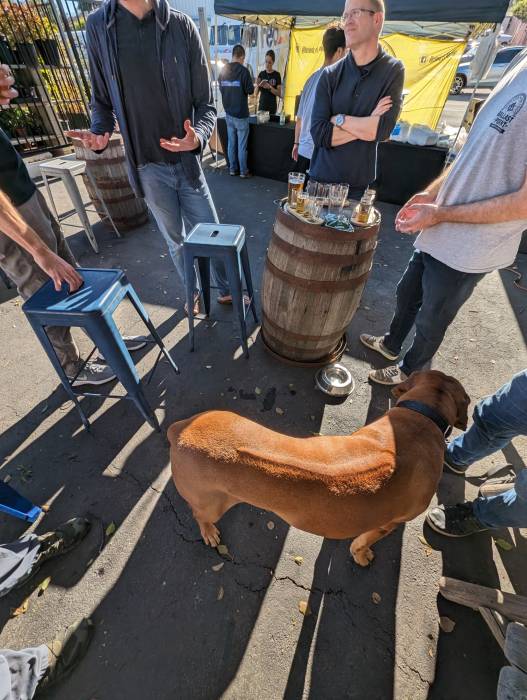
The GBES crew excursioned to Guadalupe Brewery. The brews were good and the taco tent was amazing.

Santa Claus sticker book eating donuts


Related - internal

Some posts from this site with similar content.

Post
2022.07.29

Adhesives

Prepping wood planks for the next project, chasing an elusive Gloomhaven personal quest, concatenate layers in ML, and a little bit of recreation.
Post
2014.05.26

Pump reno iii

Part III of the pump house rebuild.
Post
2023.04.28

Next episode

Following up on previous threads: the T-14, wood preservation, and Halo (through the lens of ship naming).

Related - external

Risky click advisory: these links are produced algorithmically from a crawl of the subsurface web (and some select mainstream web). I haven't personally looked at them or checked them for quality, decency, or sanity. None of these links are promoted, sponsored, or affiliated with this site. For more information, see this post.

david.shanske.com

Bathroom Renovation - August 2021 - David Shanske

blog.syntaxseed.com

Backyard Ninja Warrior Course DIY Project SyntaxSeed Blog

404ed
joegardener.com

How Do I Grow Beets? - joe gardener® | Organic Gardening Like a Pro

Beets are a cold-weather crop I look forward to growing in spring and fall. Not only are beets a root vegetable, the tops are edible as well.

Created 2024.05 from an index of 211,884 pages.