Brutal heat has meant lots of tabletop and video gaming between surf and pool sessions.
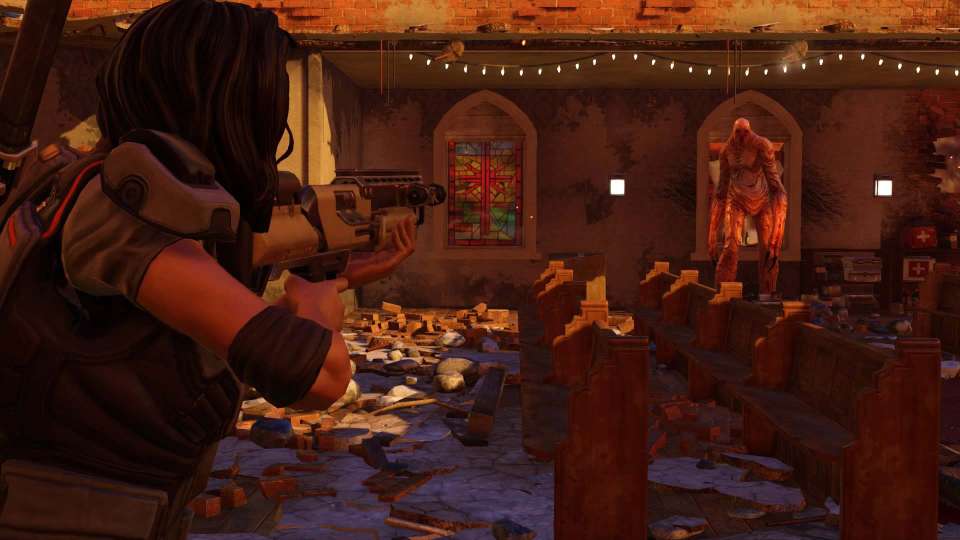
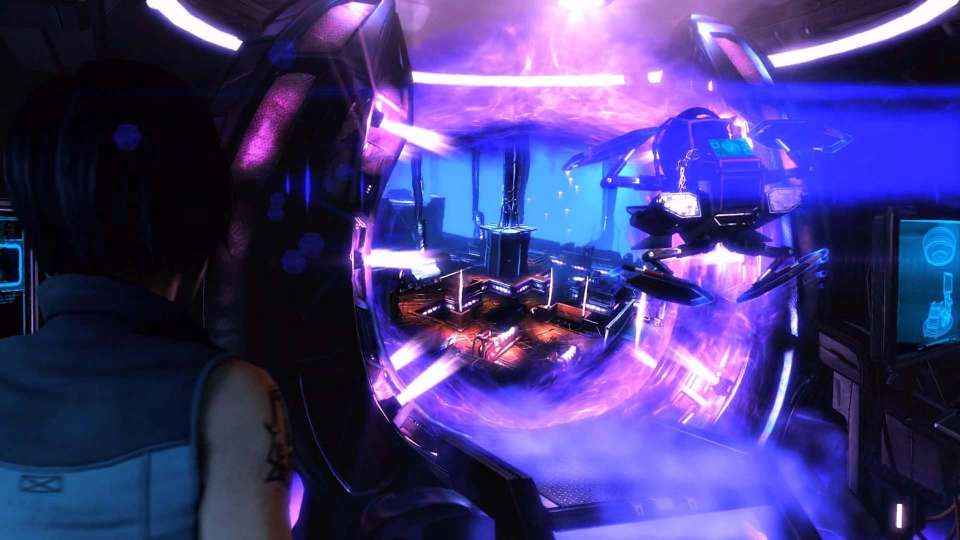
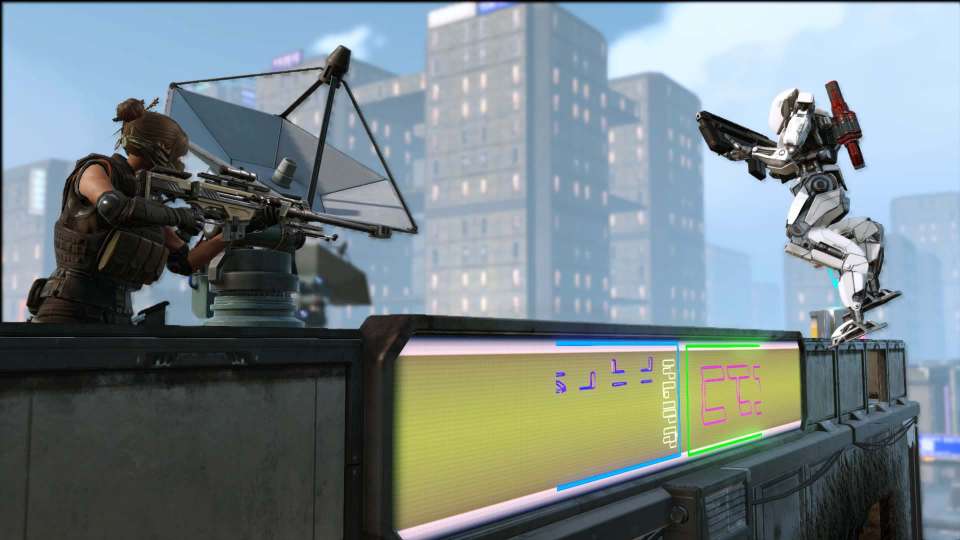
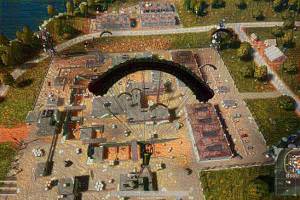
XCOM
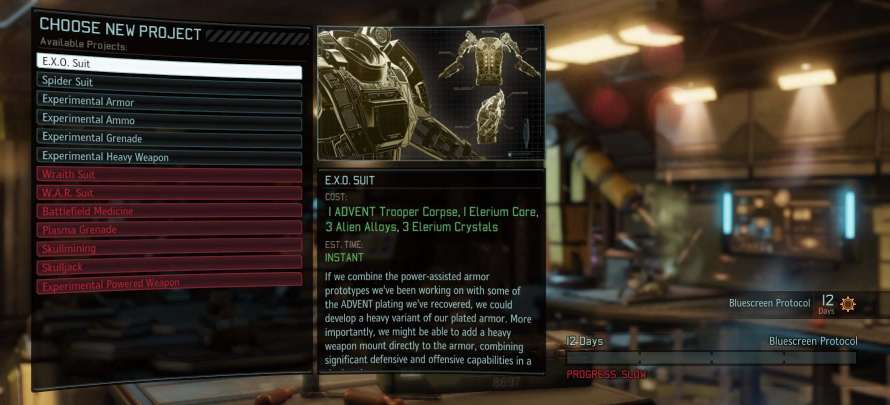
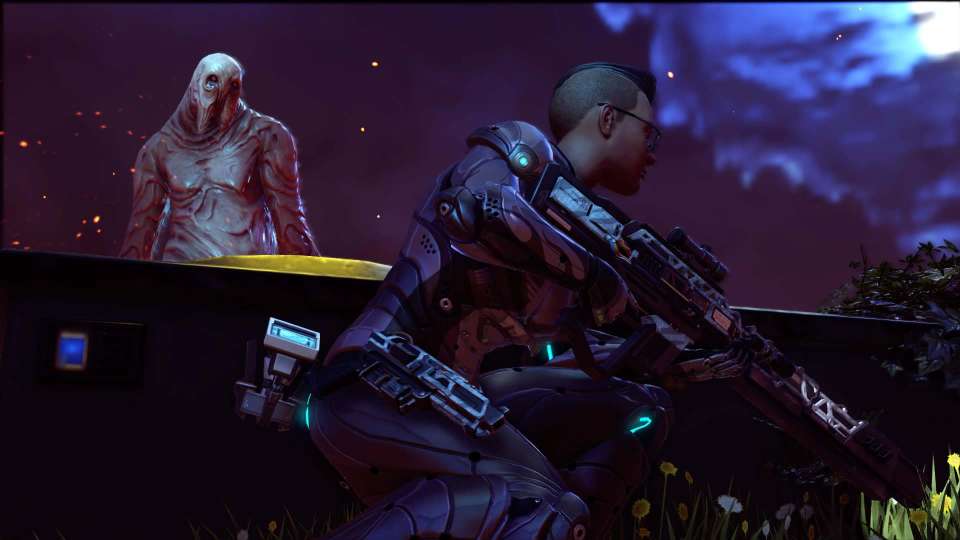
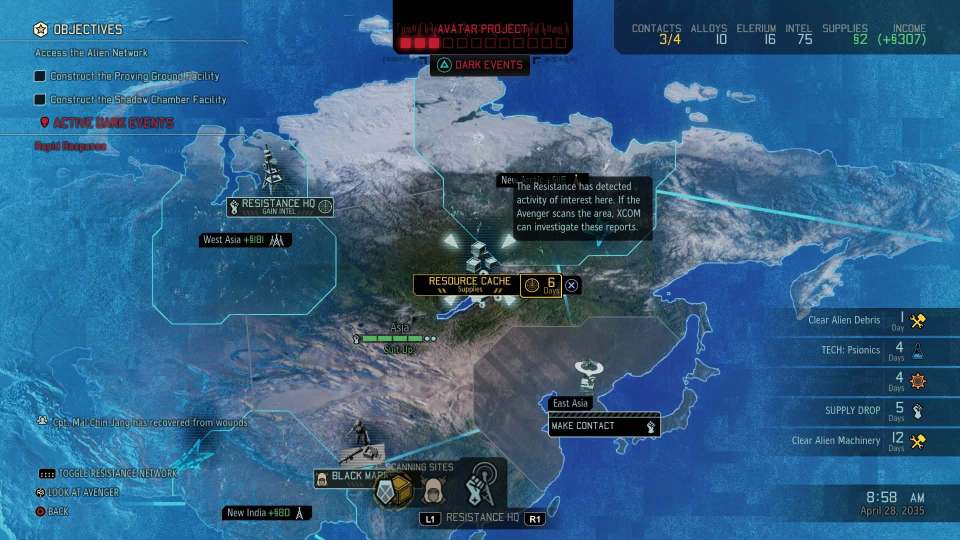
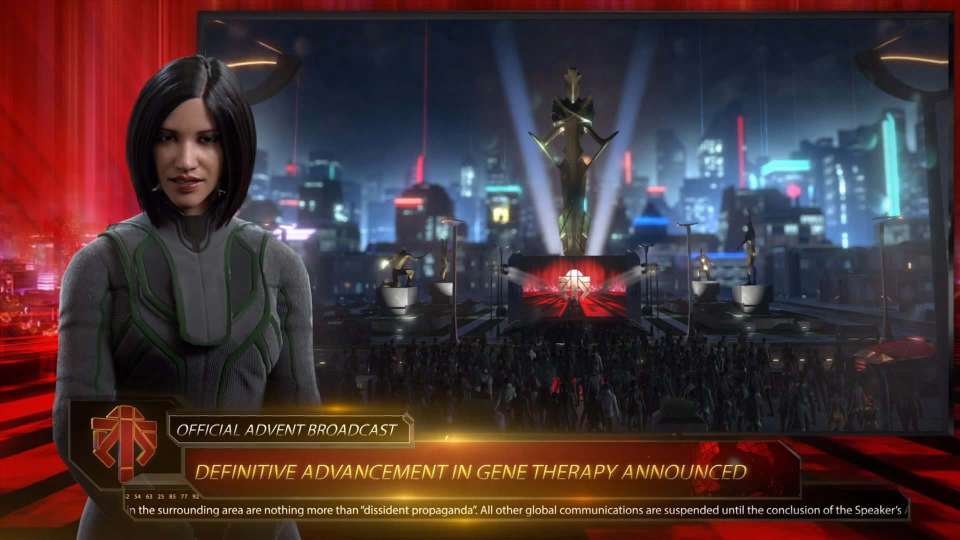
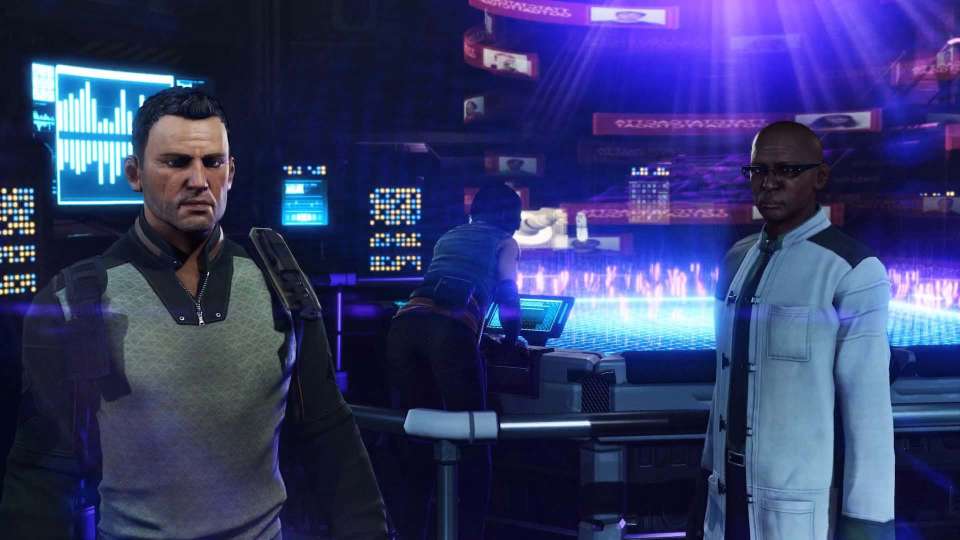
I finished off my xcom campaign. It was pretty good, there's some story development though it's not particularly dense or novel.
On the plus side, there are a bunch of unlockables that give you better equipment and more inventory. Some of them open up gameplay elements like mind/bot control - this is significant as it grants you totally new abilities and disposable units.
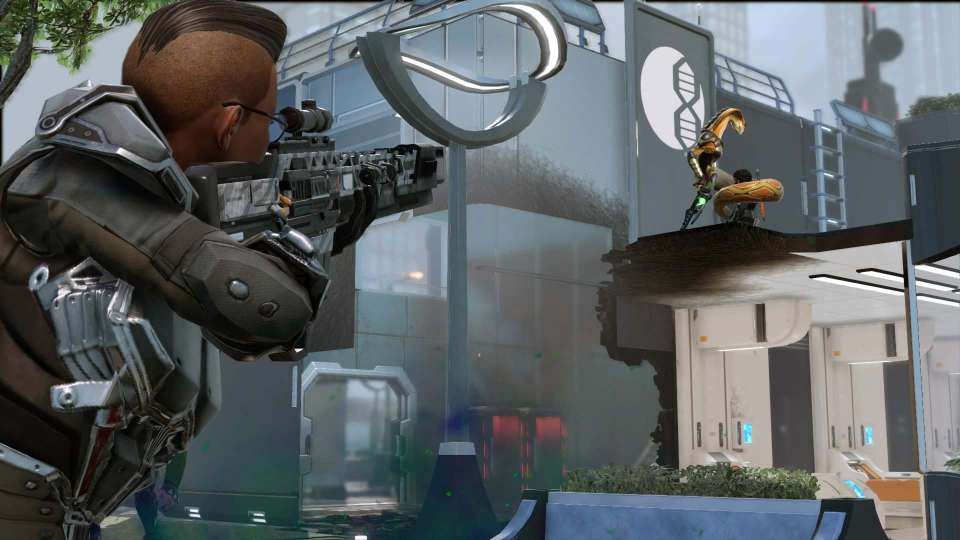
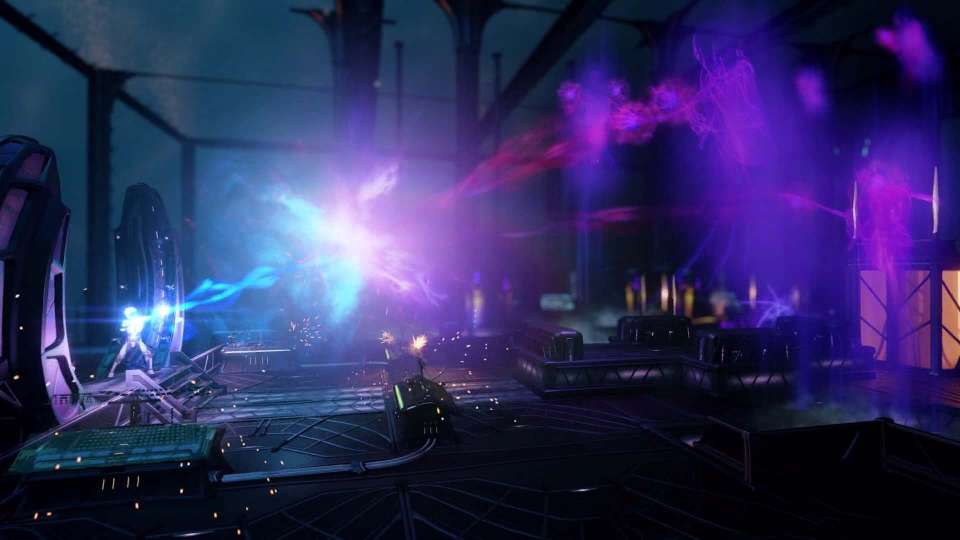
In the end, the combat does get a little stale. The main drag is that you're really incentivized to crawl through the map and aggro as few enemies as possible. Any more than a single clump of baddies can send your mission down the tubes (soldier panic makes things spiral out of control) and aside from the limited-turn missions, there's no reason to not advance as cautiously as possible.
So there's no benefit to stealthing your way behind enemy lines before lighting the place up - it just means you'll have more dudes simultaneously coming down on you. In this way, the tactics are more about action selection than unit positioning and movement.
Still, the amount of complexity in content as well as the visual variety makes the game well worth a playthrough.
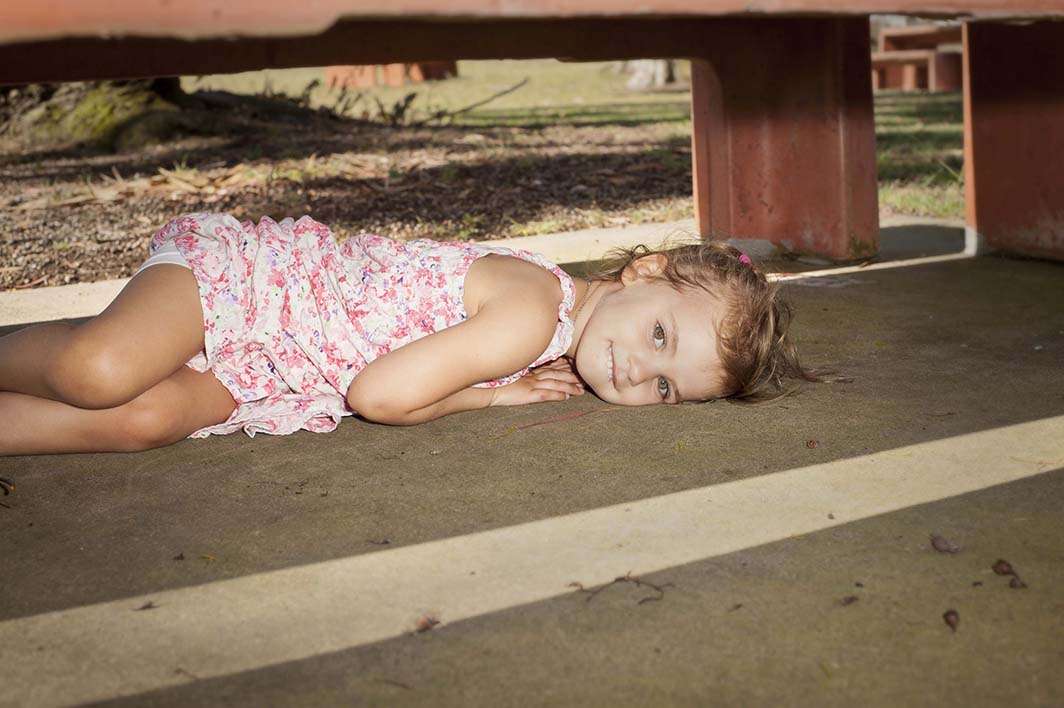
Portraits
Birthday photo session.
Furniture
We swapped out the living room couch (now in the man cave) for a good-sized eating/gaming/conversing table.
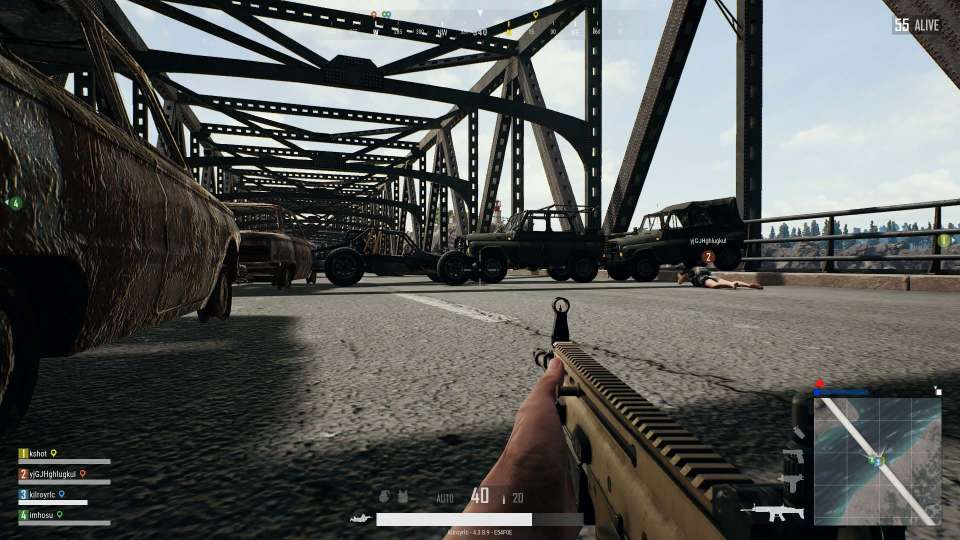
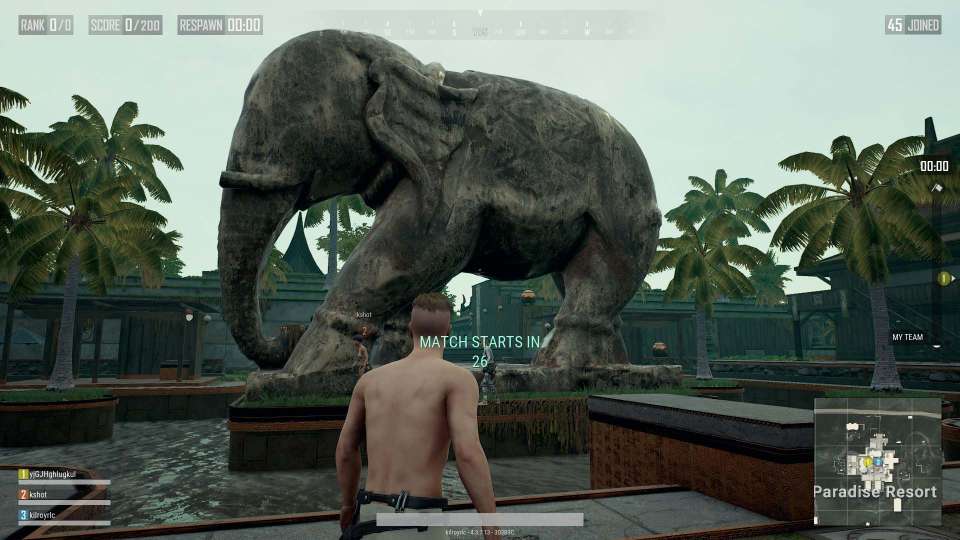
PUBG
The Lolbaters crew is getting a fair amount of PUBG in. Even the worst of us can get a kill or two per night, progress.
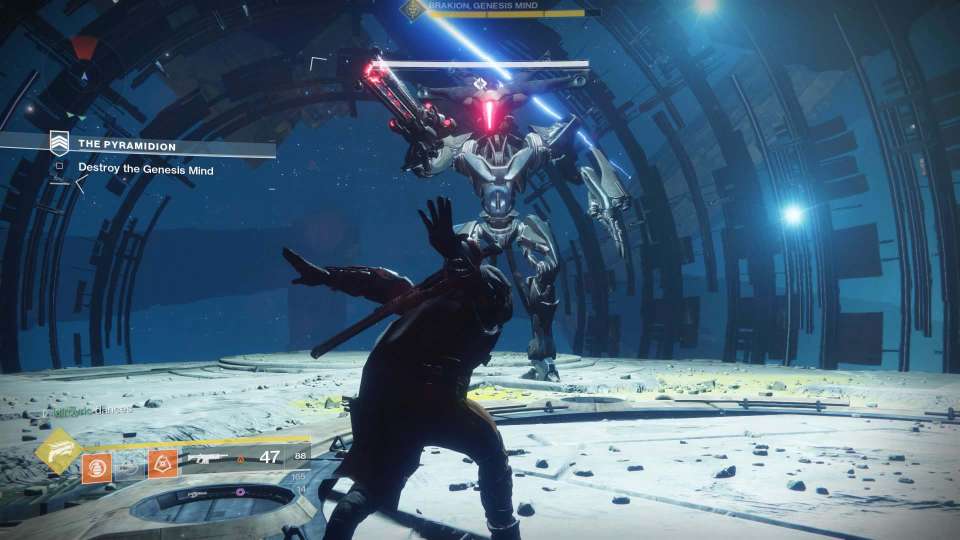
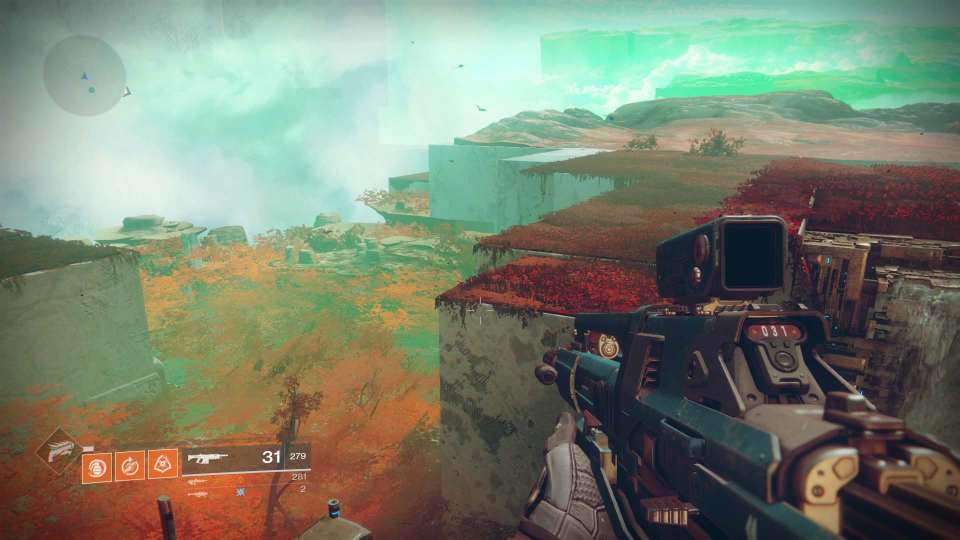
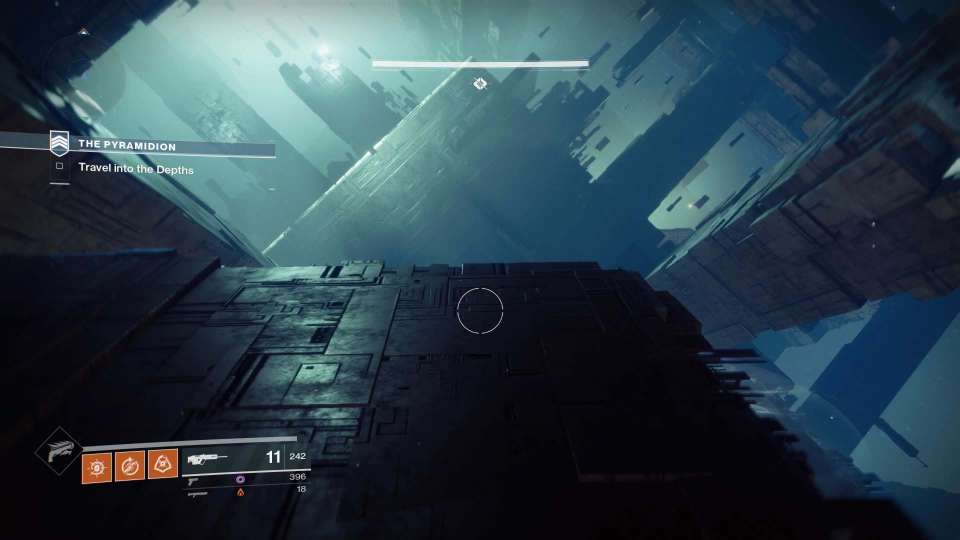
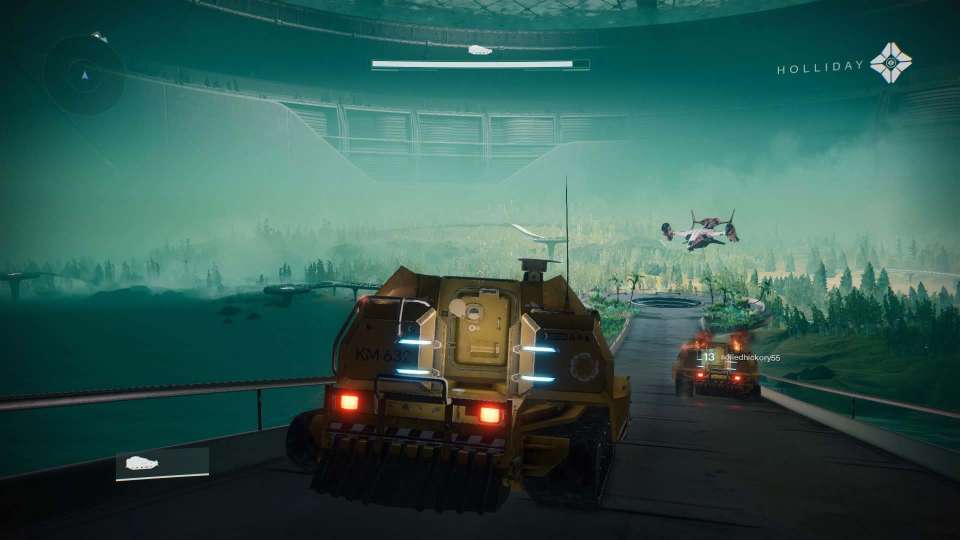
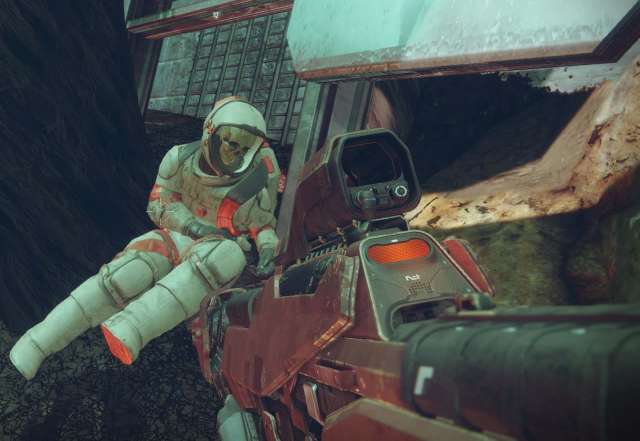
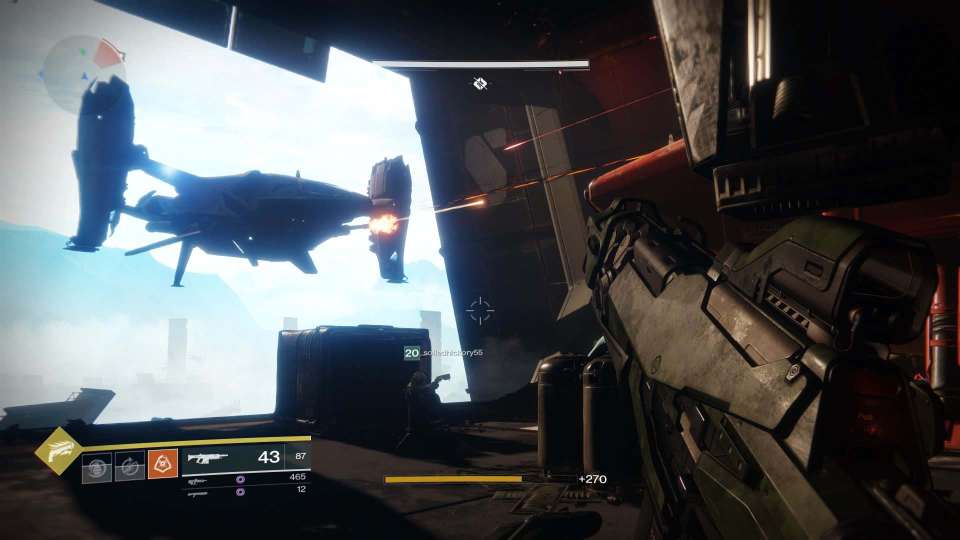
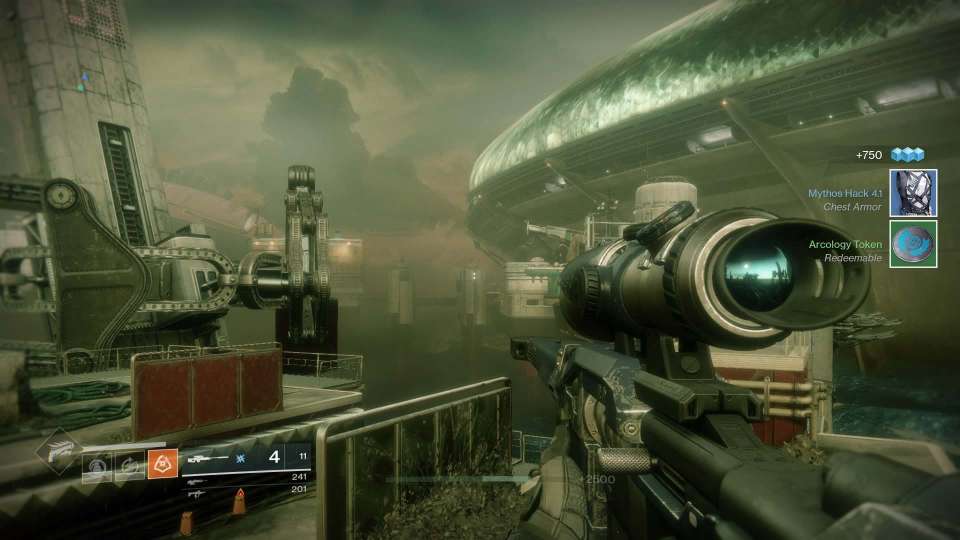
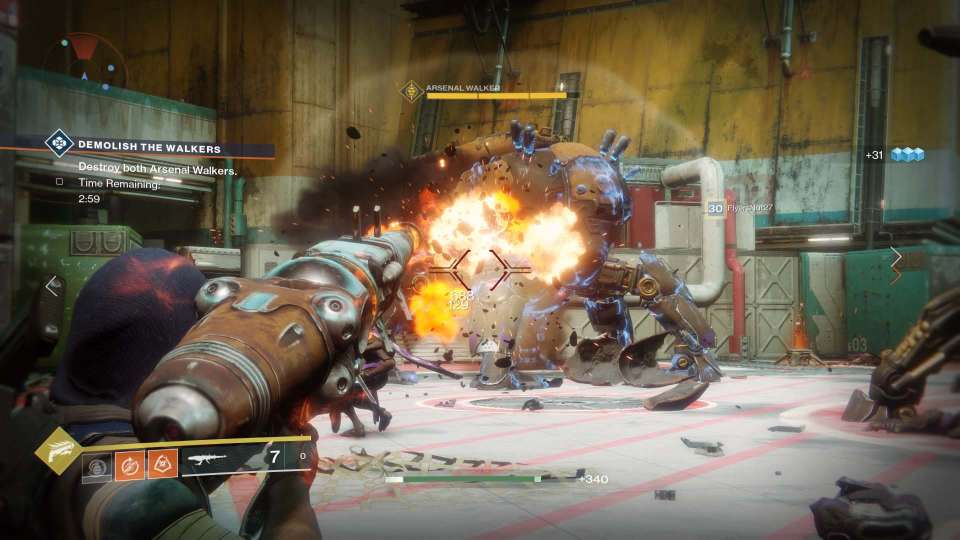
Destiny
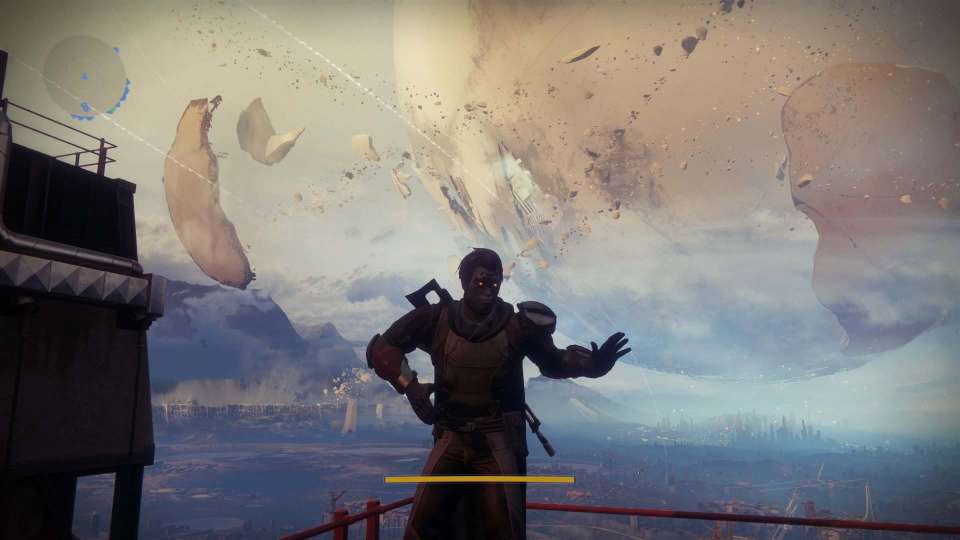
J and I are progressing through Destiny 2. We beat the easiest final boss in recent memory, hit the non-DLC level 20 cap, and have done a number of side quests and such.
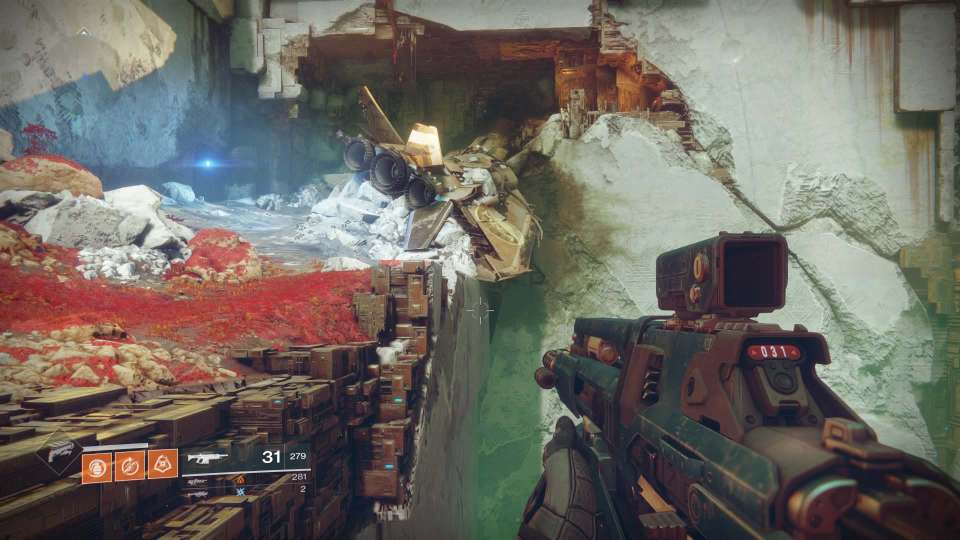
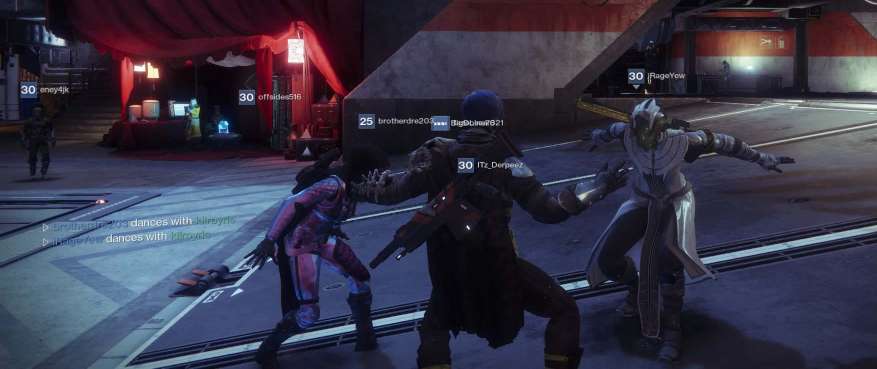
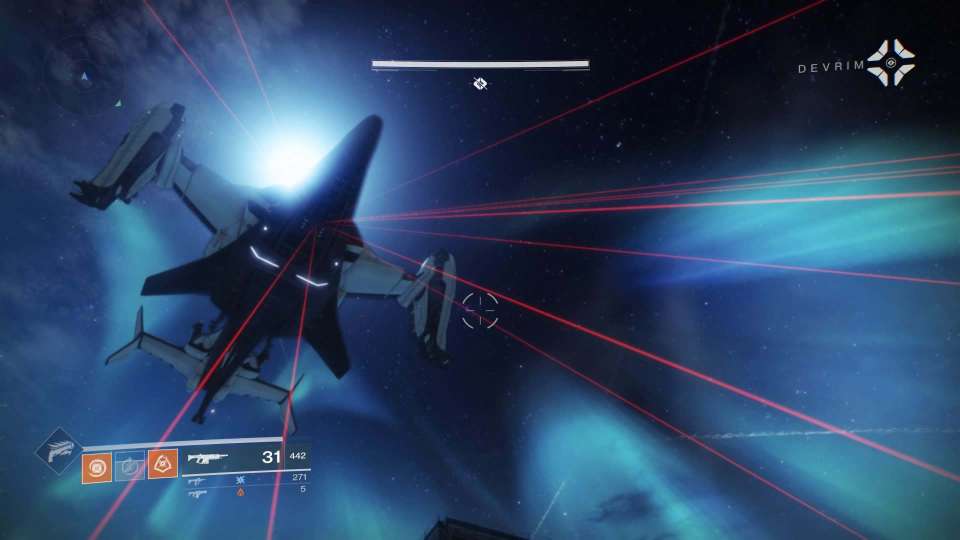
Public events are kind of funny, they're very frequent and very repetitive. Rewards are mostly tokens that will let you grind up to region-specific gear. So, mehhh. Daily to-do lists are okay, it's kind of nice to have these as minor ways to alter your playstyle but not divert what you from the chosen task. The hard and very hard mission rotation is certainly fun the first few times, but it feels like the first game.
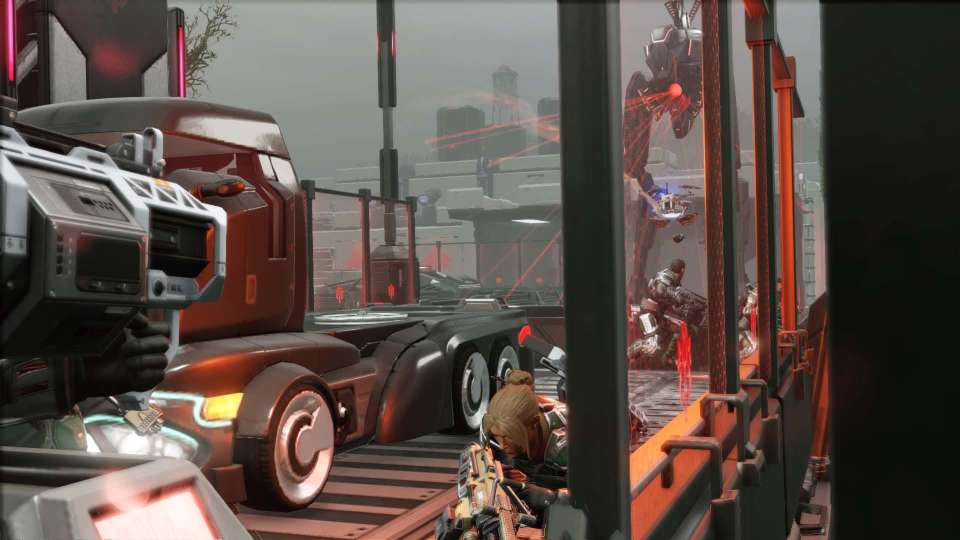
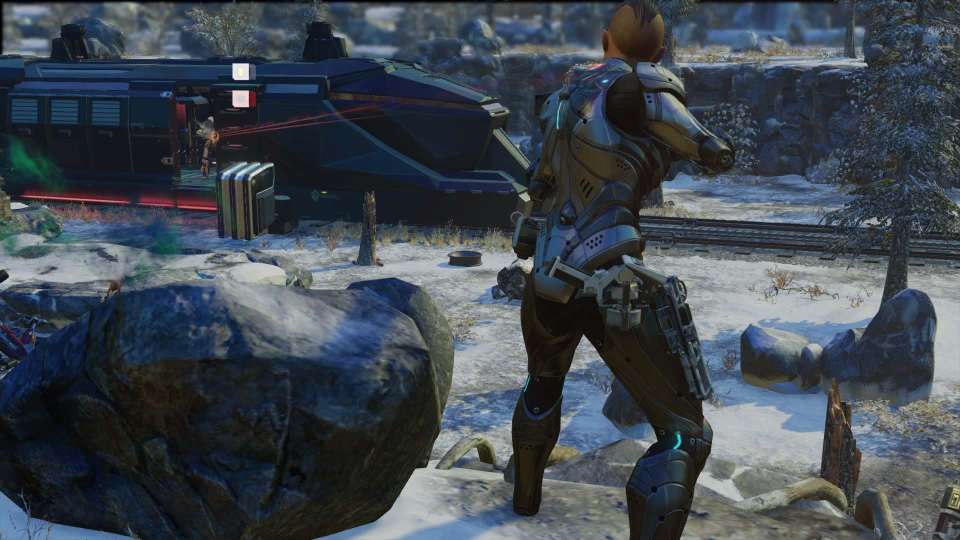
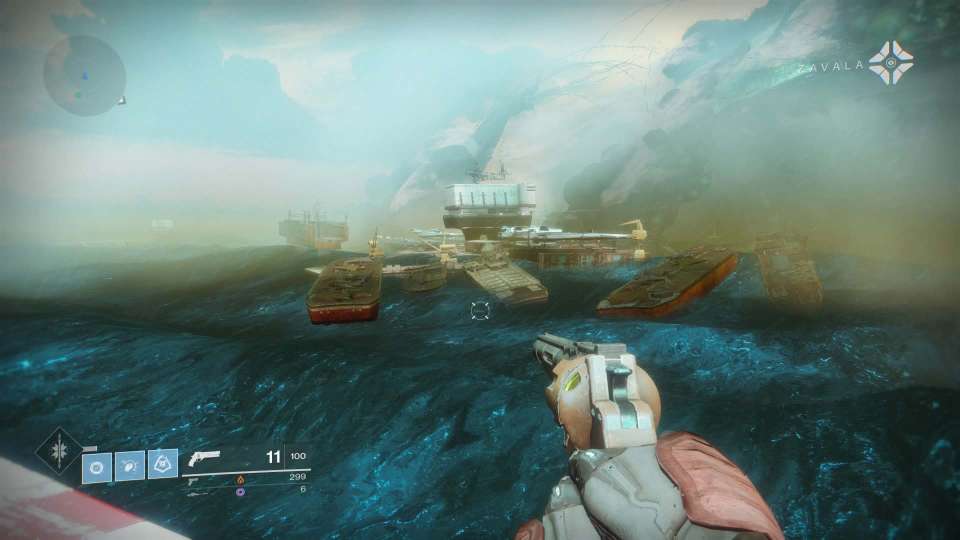
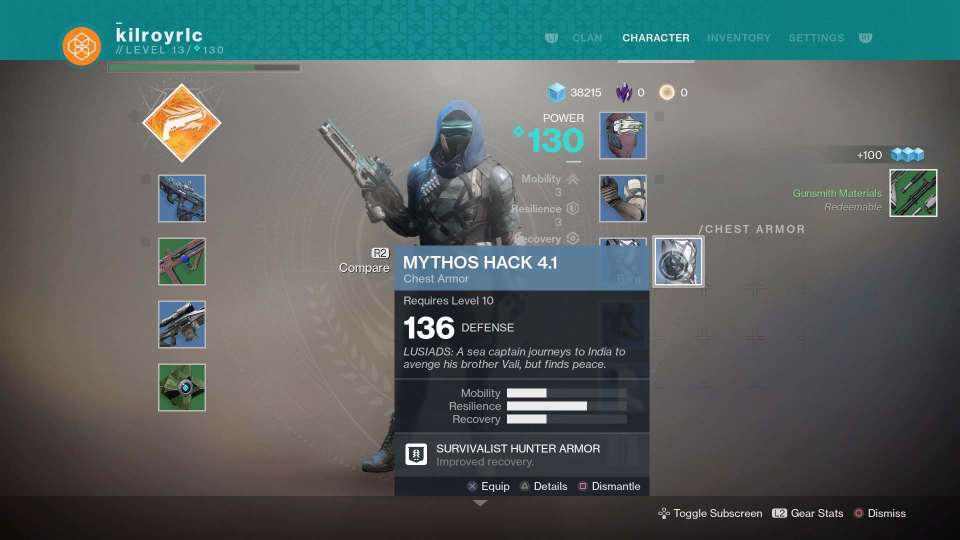
Of course, the game has all of the slick combat feel that made Halo a console staple.
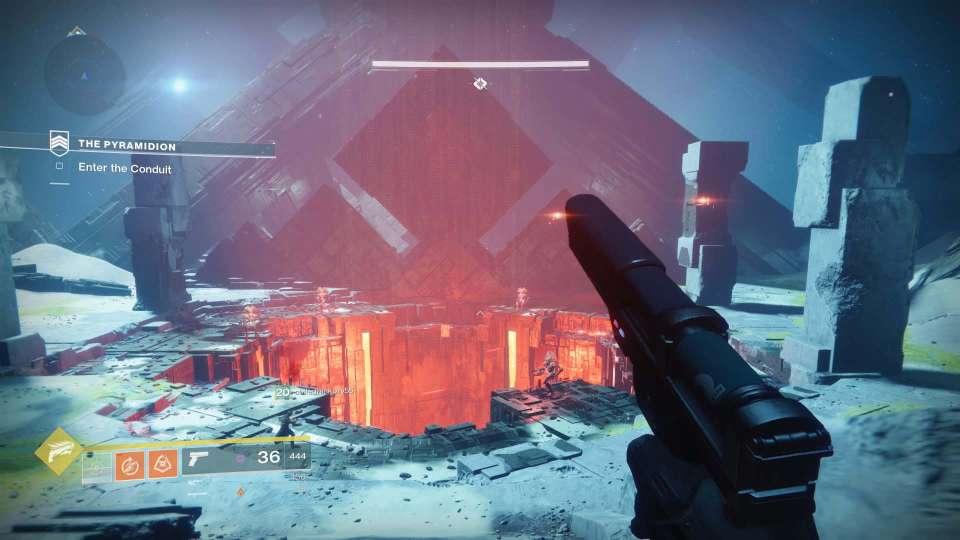
And the environment design. may be some of the best I've ever seen. If they tile textures, it's pretty tough to tell.
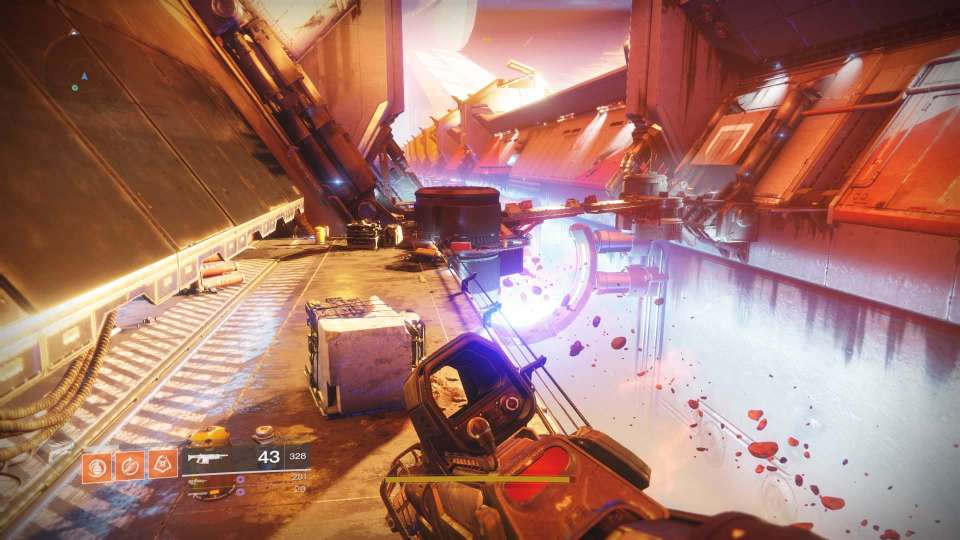
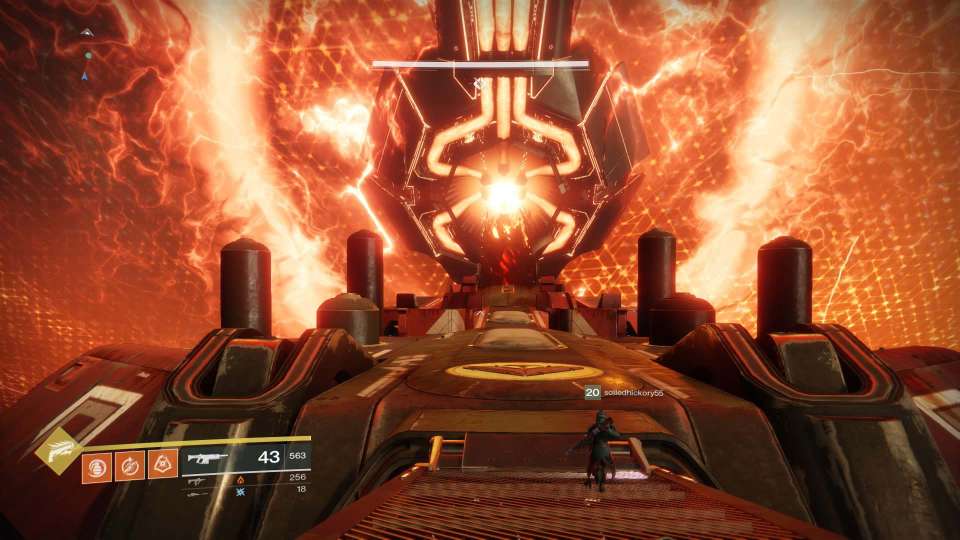
Yet Halo gameplay had more momentum. Even with a paper-thin story, you knew you had to get to [objective] or drive the Warthog towards/away from something or get to the end of that stupid Library. Here you're just kind of wandering, completing disjoint missions with only the personal objective to level up your character. The universe-imperiling main plot is just so ho-hum that it's almost a relief that it resolves itself so quickly.
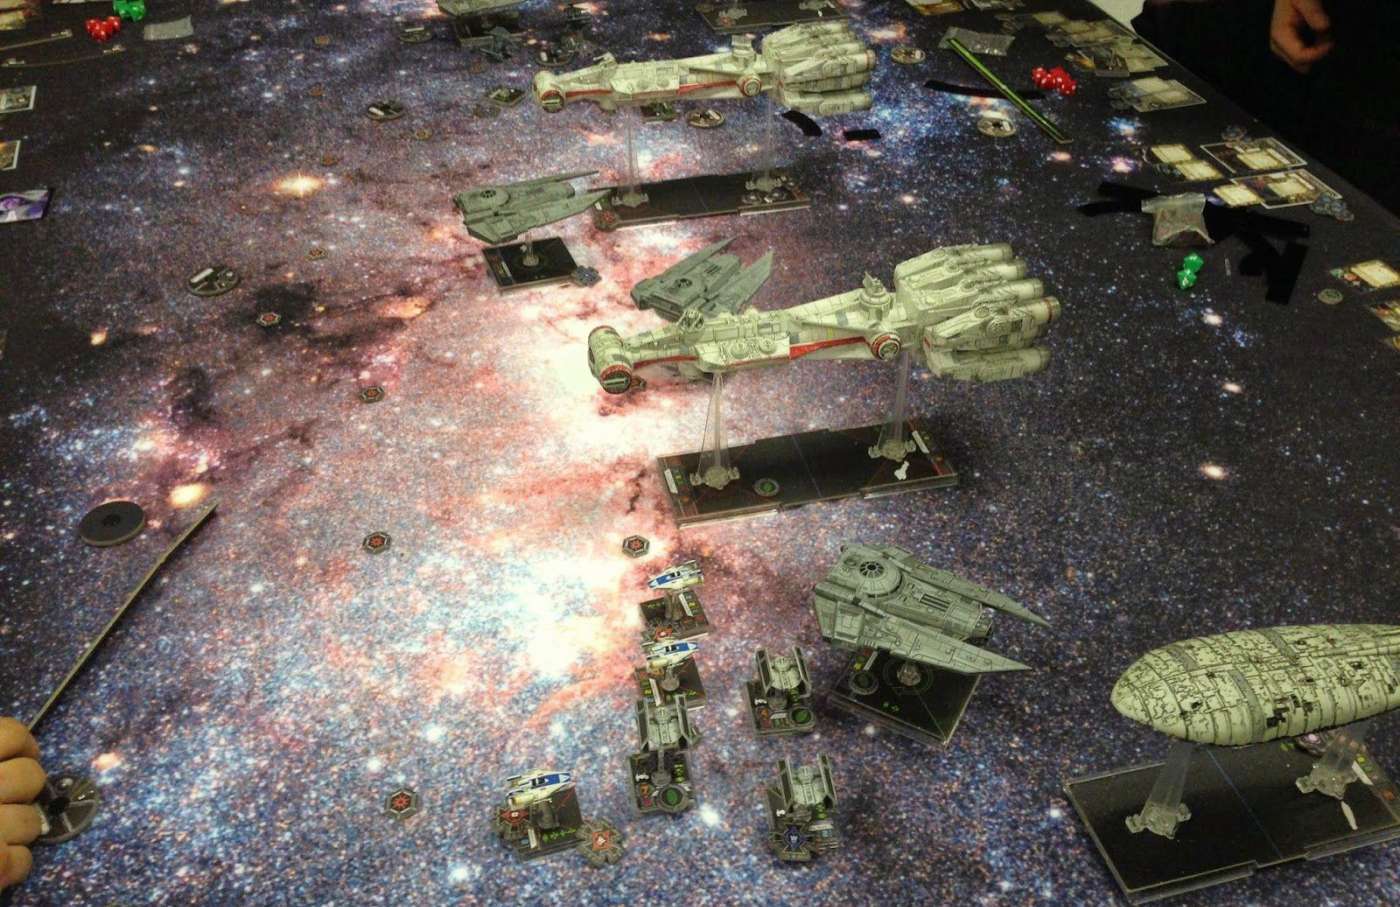
X-Wing epic match
With Derrick gone at Shakacon, the Brogue Squadron had to do something. To start, the three of us replayed the Capture Imperial Officer mission: do some damage to a Lambda shuttle and then clear out any remaining TIEs. This is actually quite difficult (hence the replay) since the steady stream of reinforcements makes it hard to finish everyone off. Bizarrely, the twelve turn mission has a wing of TIE Interceptors arrive at turn eleven, making it a de-facto ten turn engagement.
This went surprisingly quick, so we started an Epic Battle. 300 point squads (3x normal) on a double-size chunk of space. I was to use the Corellian Corvette, so I built around that. Basically, my squadron is this:
Corvette missile build - infinite homing missiles and proton torpedoes, three shots per round plus one primary weapon. Homing missiles don't expend target locks so they're pretty crucial in the loadout.
Interception B-wing - Nera Dantels can fire torpedoes in any direction, she also has proton bombs (direct hull damage) on a modification that lets her optionally fling them forward rather than drop. Good for area denial and splash damage.
Blocker A-wing - a low skill pilot meant to get in front of either TIE swarms (messing up their formation) or bombers (robbing their action). The intimidation mod reduces any touching ship's agility, so it's perfect for tagging the next Vette target.
Anti-missile X-wing - any large ship-hunting build is going to need torpedoes. Wes Janson lets you remove a target lock from a ship he attacks. So all he has to do is fly around and attack (not even hit) bombers. A key here is high enough pilot skill to attack first.
First strike HWK - Roark Garnet lets you assign an ally pilot skill 12, basically meaning the corvette's four attacks can happen and resolve before anyone else. He's got an ion turret to maybe make people splat into the big ship.
Attack up HWK - Jan Ors lets an ally roll an additional attack die once per turn. She has a dual turret (two shots per combat) with Dash Rendar who negates the corvette's super-obstruct ability.
(Full build supplied at the bottom of the post).
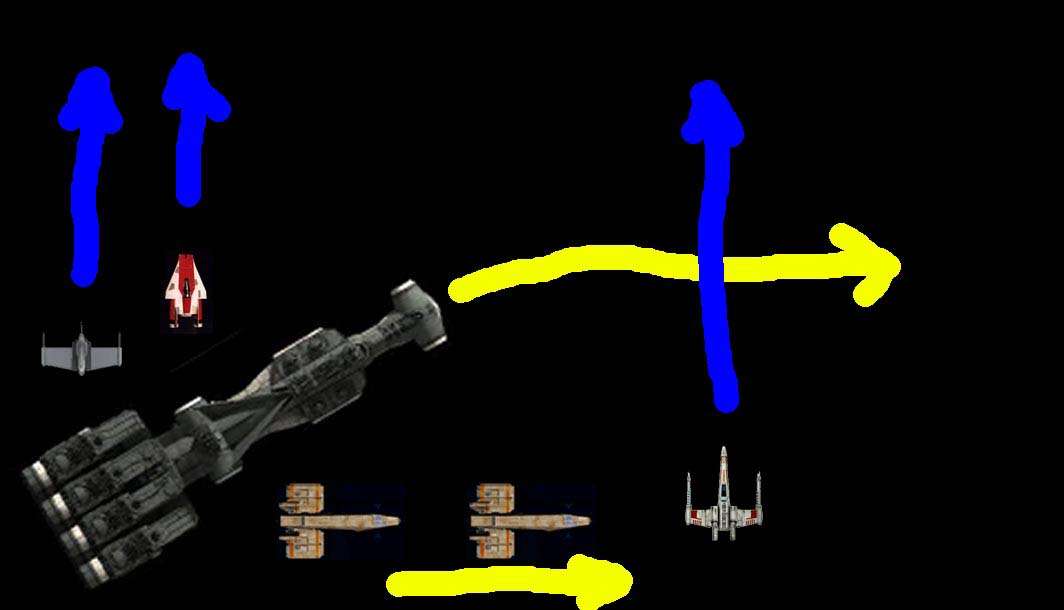
The strategy was to fly the corvette along the long side of the map and let the interceptors blunt the attack. The HWKs could stay behind the corvette (which, with a mod lets them add three defense dice for an obstructed shot) and do their buff thing. Should anyone get in behind the corvette, the HWKs could drop back and clean up.
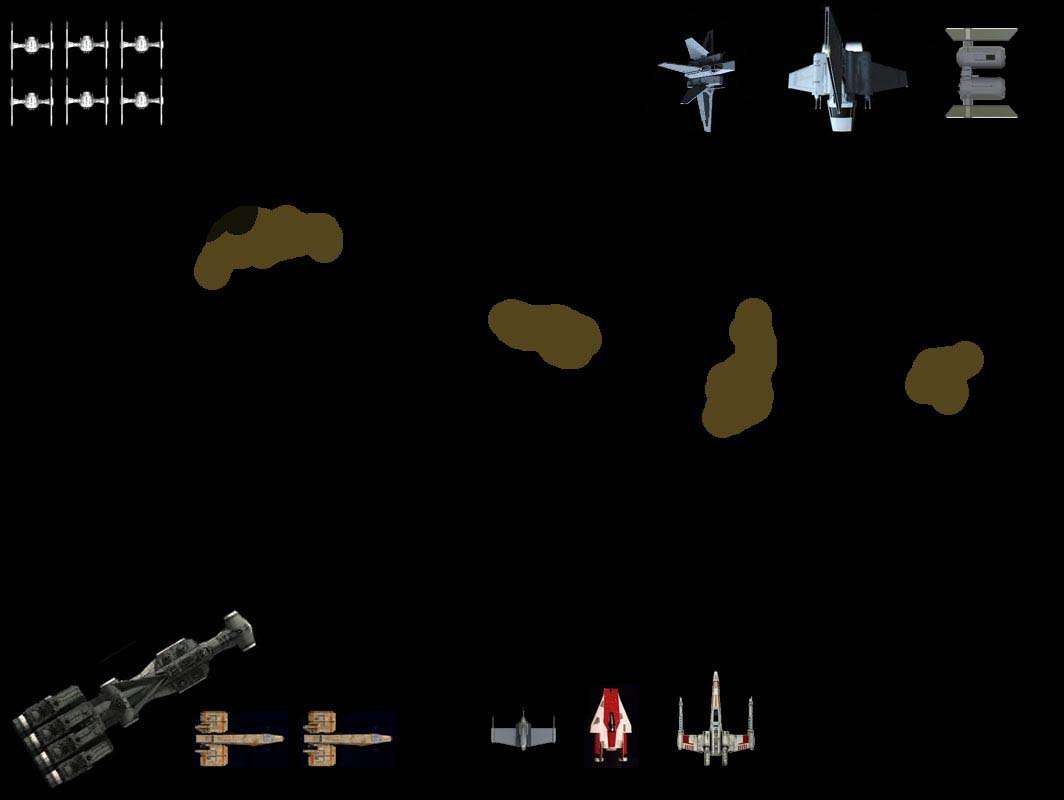
Chase and Mark (hence referred to as Chark) had a pretty formidable build:
A swarm of low-skill TIE fighters anchored by Howlrunner, giving them a die reroll on every attack. Collectively, they're a strong attack, particularly at close range. It's also agony to spend target lock actions and powerful attacks on them because each is so insigificant.
A Lambda shuttle that can target lock anything on the board, then hand that to a nearby ship. I believe it also handed out additional free target locks to nearby ships.
A TIE Bomber with lots of missiles and a mod that changes a blank result to a hit.
An Assault Gunboat (Star Wing?) with a missile loadout. It had a pretty nasty build, the SLAM action (free bonus maneuver) became a free action, didn't prevent attacking (as normal), and added an agility die. This thing needed to go down quick.
A few other high-atack TIEs.
Emperor Palpatine hiding in a corner, giving one guaranteed die result per turn.
And now, a digression into nerdiness entitled How to Screw Up Having a Pretty Good Build.
How to Screw Up Having a Pretty Good Build
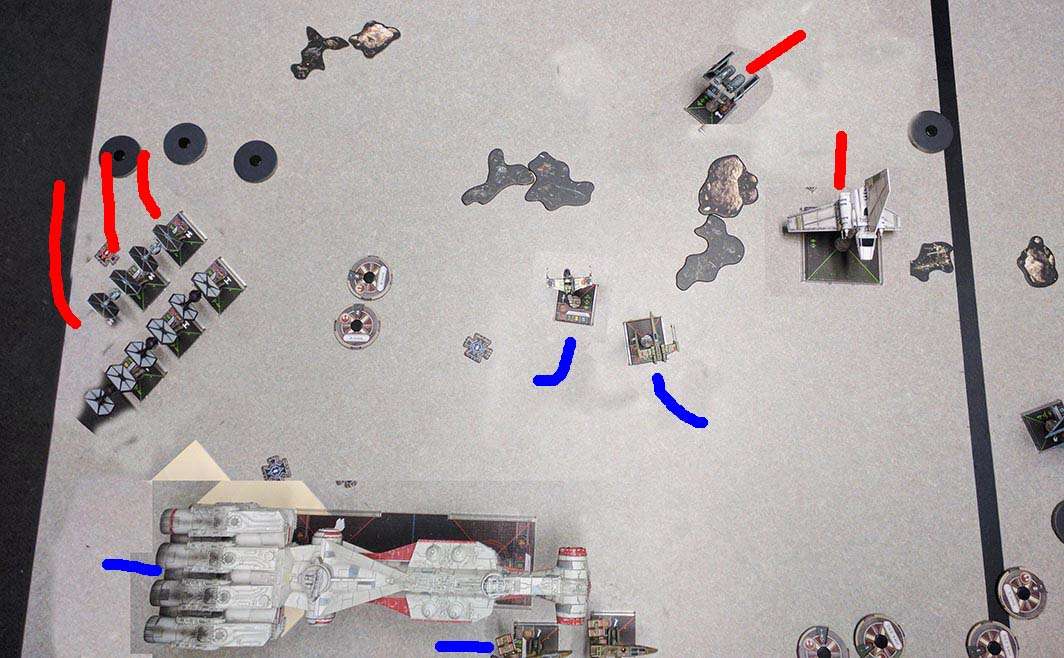
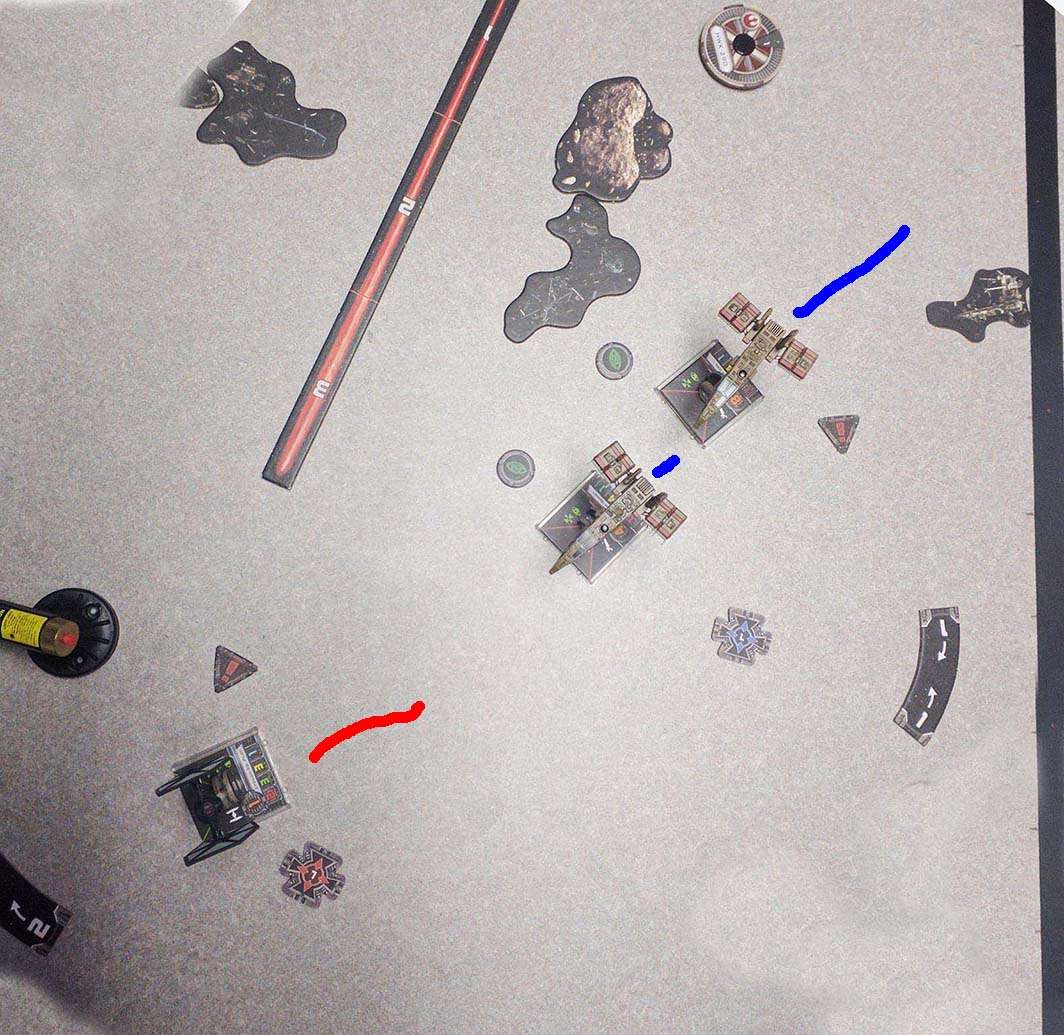
Chark placed debris so that it'd be difficult to maneuver the corvette, but at the end of astroid placement I had almost a straight shot down the near edge. Since the corvette has to touch my edge, I knew I had to start it at an angle and then just turn so that I kept my broadside to everything.
The HWKs could fly parallel, shielded by the corvette's obstruction (+3 defence dice). The A-wing, X-wing, and B-wing could move to intercept at their convenience (the benefit of a main ship that can shoot at range five).
I stupidly didn't realize the corvette (placed first) starting in the corner would mean nobody could start inward of it. Not only could I no longer place interceptors on its aft, I had two additional ships to keep from smashing with my corvette - mind you I was very unfamiliar with how the big ship movement template worked.
So with my corvette in the corner, the TIE swarm took position opposite it. This is kind of what I had hoped for - squeeze them through the asteroid into a B-wing proton bomb. Of course my B-wing was now quite some distance from the kill box.
The HWKs went in their expected place. Then Chark put their bombers and target lock shuttle in the middle of the play area, which was really the other side of the play area that we'd actually use. These ships were conspicuously aligned with a gap in the debris. The unused play area got the Emperor's shuttle and a couple other midrange TIEs. Having no option, I placed my A/B/X-wings in front of the corvette.
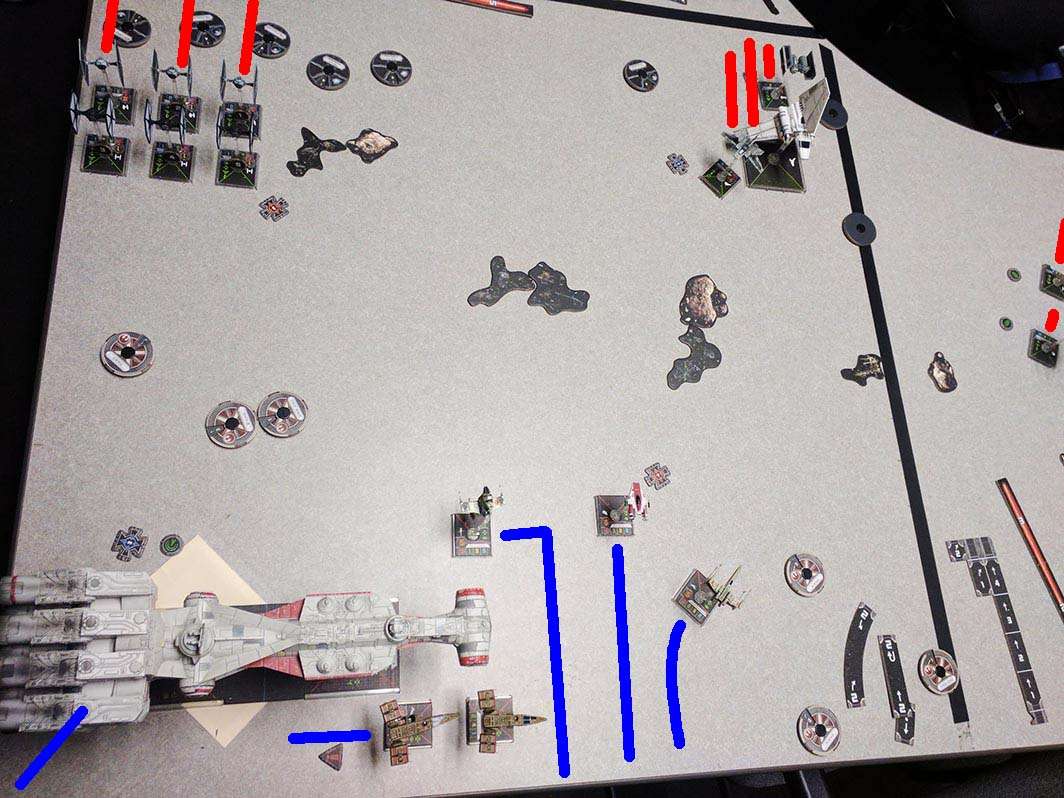
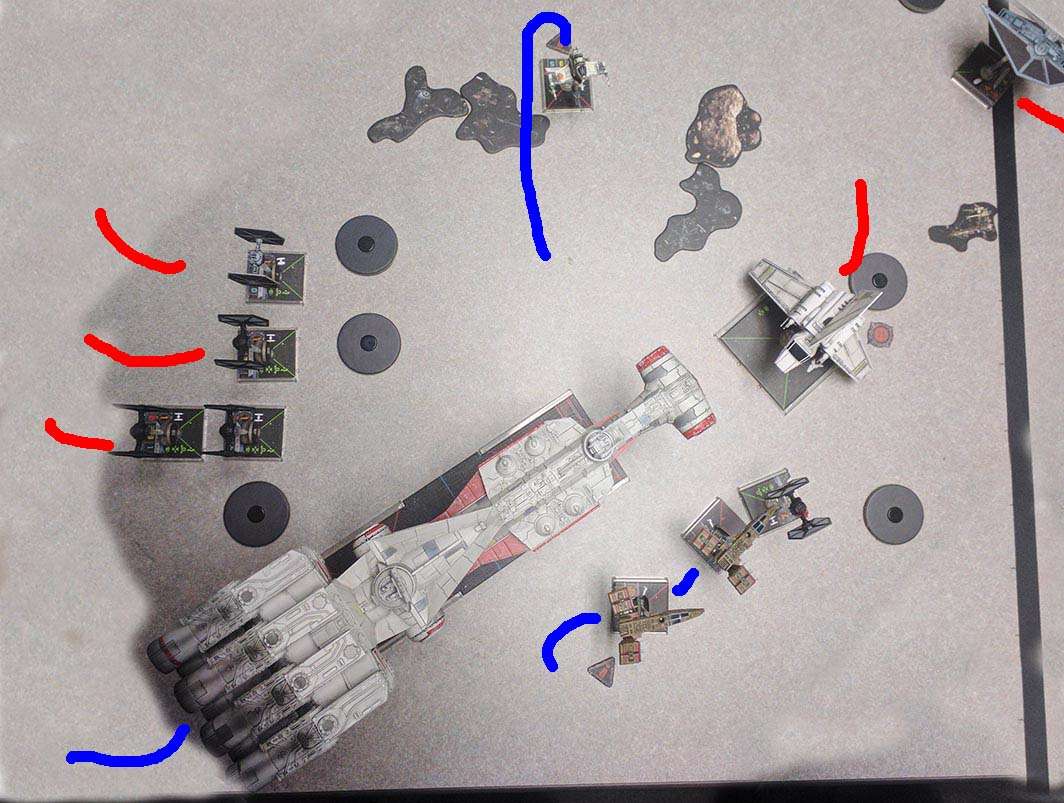
The TIE swarm advanced and the missile boat looked to be plotting a diagonal course through the debris. I straightened out the big girl and moved Janson's X-wing toward what would clearly be the first torpedoer to get in range. The A-wing slid forward, unsure if it'd try to disrupt the swarm or, more likely, block and expose the missile boat.
Another bonehead mistake, I moved my B-wing straight forward. A two-bank maneuver would have left it aimed directly for the next logical position of the TIE swarm. That would mean I could launch a proton bomb and deal a face up damage card to everything within range one of it. It would either be very bloody for the TIEs or they'd have to break off their attack. What's more, since the B-wing moved after the TIEs, I wouldn't even have to waste a bomb if they decided to bail on their advance.
But I didn't do that. Too worried about corvette movement.
The B-wing was going to do no good against the TIEs, any move toward them would give them to option to (likely) kill it before it got any of its four ordnance out. I decided to roll with my self-punch and swing the B-wing around toward the bombers - its pilot's ability was to fire missiles in any direction, so it'd have an immediate shot on most of the few places the missile boat could end up.
Janson in his X-wing had a very good idea where his attacking arc had to be to relieve a bomber of its target lock, so he turned left.
I considered moving the A-wing into the gap that the missile boat was shooting for, but was worried about the possibility of it coming under fire from that entire group. Instead I veered the A-wing toward the shuttle. This left it exposed to a number of attackers, though most were obstructed and/or at range three. But Chase's unbelievable dice rolling made my little interceptor the first casualty of the engagement.
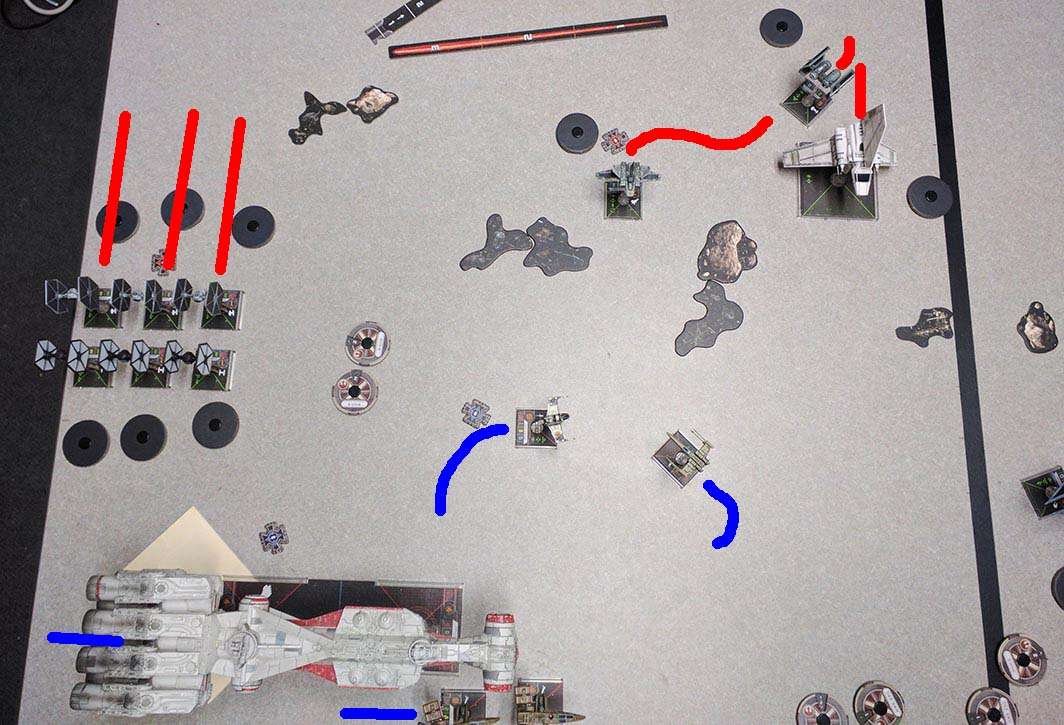
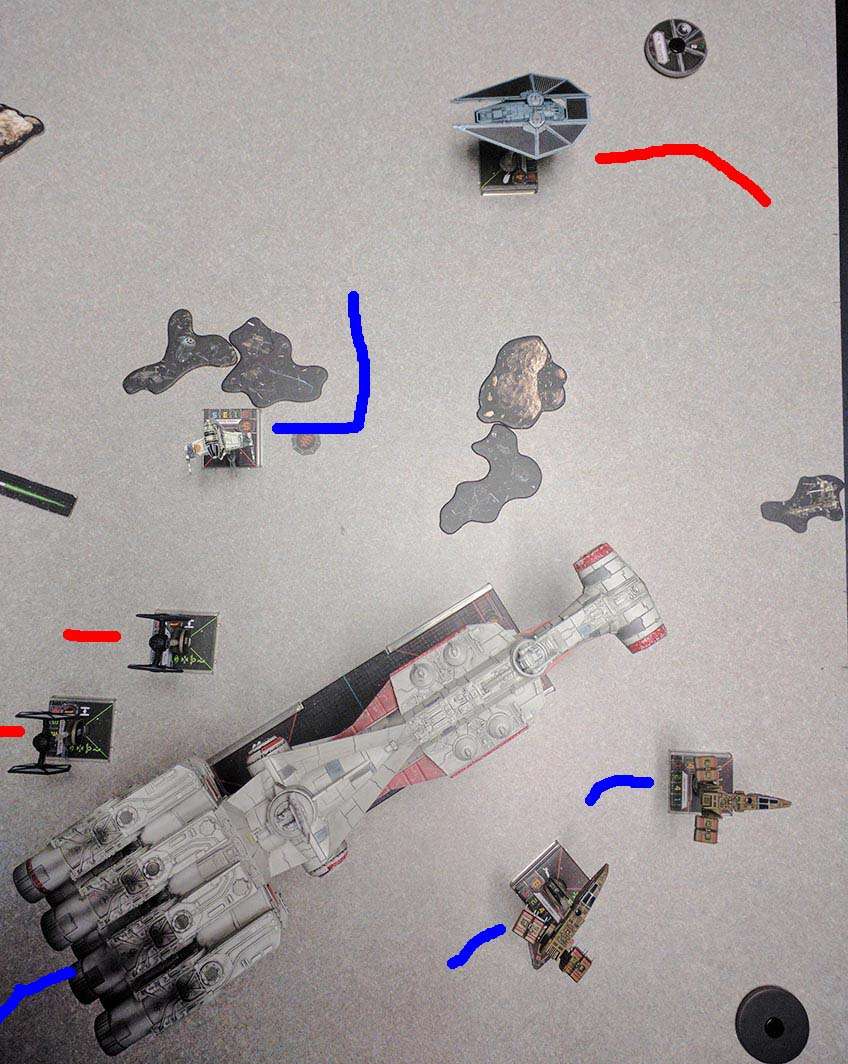
I expected the TIEs to swing toward the corvette and head off my B-wing, but they appeared to be trying to get in behind the big ship - out of its secondary weapons arc.
Time for yet another stupid mistake. I took a target lock on Howlrunner - the TIE that buffs all the others. That's good, but I took my second target lock on a TIE that was, well, out of range of the corvette fore section. This meant instead of three missile attacks and a primary weapon attack, I got one of each. Taking a target lock on a TIE in range could have very likely spared me some pain down the road. And thanks to Palpatine, Howlrunner survived with one hull remaining (and a fully functional special ability).
The TIEs then got their shots in and plinked down the corvette shields, in spite of a reinforced aft section. Yeah, Chase rolling + Howlrunner is deadly.
Oh, stupid mistake number - uh who's counting - I completely ignored my upgrade card that would let me spend some of my copious energy to restore a shield at end of round. This would have a massive impact on how things played out since a shield restore takes all remaining energy (which could otherwise buff attacks). The obvious correct action here would be to take a shield back and then reinforce the aft next turn.
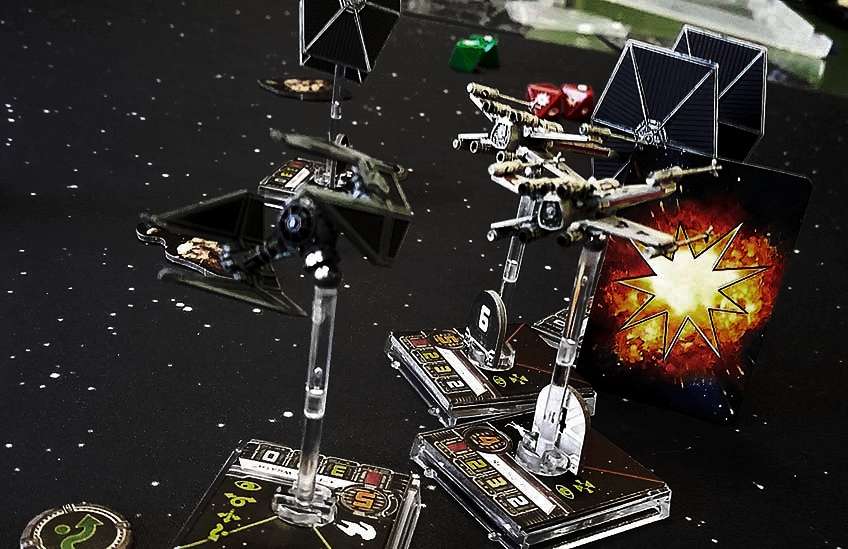
Looks like I'm missing a slide so I faked it. The combined attacks of the corvette, X-wing, and B-wing took out the missile boat. This was a huge relief the missile boat and bomber seemed like this most significant threats. The B-wing also tossed a bomb forward into the path of the shuttle and a few other craft, face up hull damage is very nice.
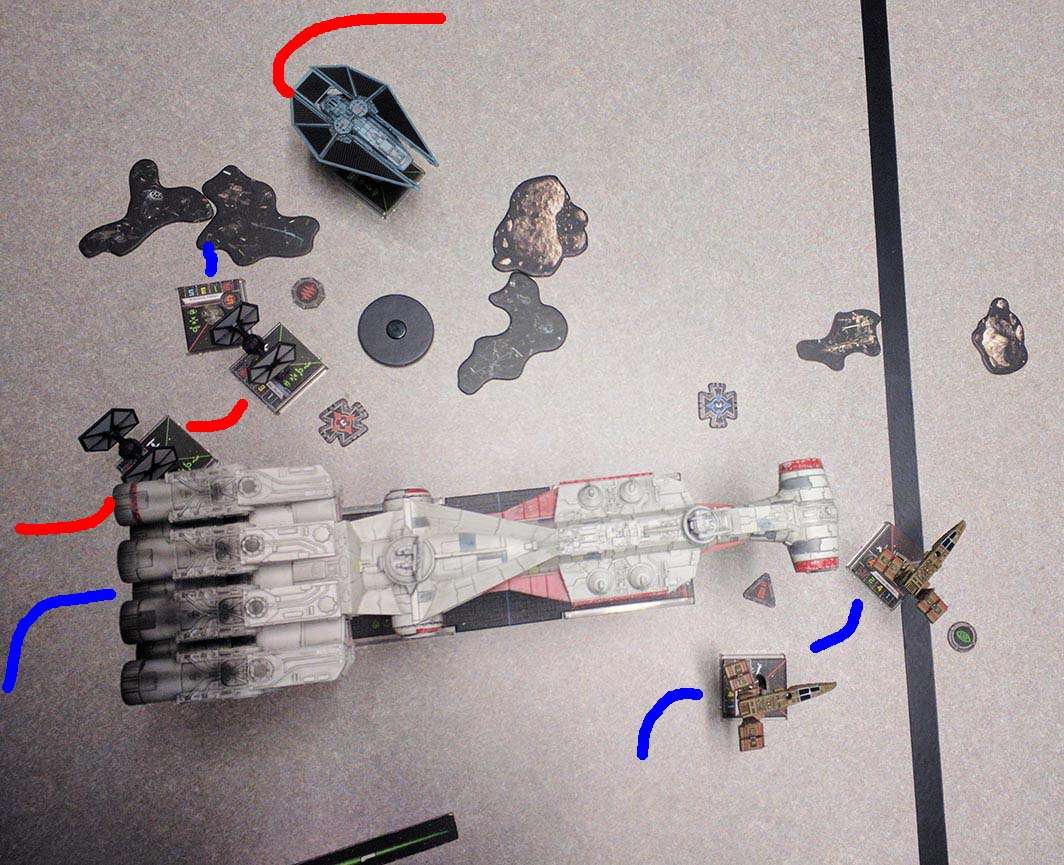
The TIE bomber, lambda shuttle, and TIE/SF took my X-wing out before R2 even had a chance to restore any shields. The corvette finally destroyed Howlrunner, but the remaining TIEs took down the just-regenerated corvette shields and dealt it two damage cards that would reduce energy gained by one. Yikes, how costly was that shield restore mistake?
With the missile boat out of the picture, I needed to get some corvette shots on this TIE swarm. So I turned the corvette inward along with its support HWKs that were finally able to use their secondary weapons to do some damage.
My B-wing k-turned around the bomber but didn't even get a chance to shoot it because the corvette did it with its first attack. The TIE swarm had taken my aft section down to only a couple hull points, but at least the bombers were out of the picture.
The shuttle turned in and the TIE/SF also opened up on the corvette fore section. With a lot of dice and a lot of luck, they blasted through the front side shields and had it down to three hull. Ouch.
Chark made a slight mistake here - their shuttle (still with a handful of shield tokens) had nowhere to go. It was boxed in by its comrades (and terrible maneuverability) such that the corvette simply needed to move far enough forward to smash it.
My next move was pretty straightforward - ram the corvette into the shuttle and get the insta-kill. I rolled my B-wing around the debris cloud and blasted a TIE. The corvette and HWK did the same. What used to be a significant imperial force appeared to be dwindling. Still, my corvette was on its last legs and HWKs are glorified support ships.
Palpatine's transport finally entered the fray and took a few shots at the B-wing. The corvette got a few lucky hits on it because it decided to jam the B-wing instead of focus.
And, finally, the remainder of the TIE swarm crippled the corvette aft section and dropped the fore section down to a single hull point - which, of course, is the minimum number of hull points required to launch another three-attack salvo.
I turned the corvette so that the TIEs would have to avoid it, they'd also have no shot on the fore section (attacking the crippled aft would do nothing). This left me with three shots on Palpatine's transport, which had turned in to finish the corvette fore section.
The real coup was using my B-wing's final proton bomb to do faceup damage to itself, the nearby TIE, and Palpatine's transport. Luck was beginning to balance out, as Palpatine's damage card was a weapons failure - no attack that turn!
Palpatine's transport was in a bit of a pickle, one of its upgrades required it to move forward before executing its maneuver. So with a one-bank and a stop maneuver, it came to rest on a debris field and earned a total of three stress tokens.
This round was pretty straightforward. Palpatine's transport had taken enough of a pummeling that I was able to finish it off before it shot back, but one of the remaining TIEs struck a final blow to the corvette.
What remained was two undamaged HWKs and a B-wing against two TIE fighters. With 360-degree firing arcs, the HWKs had an easy task. Somehow, in spite of myself, I managed to pull out a victory.
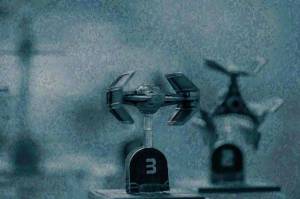
Aturi
With a full strength squad we're back in the Aturi Cluster. We eked out a win in a scenario where you protect an alliance operative escaping in a damaged HWK. It's a nostalgic mission objective. It also provided more positive marks for the campaign balance since both Chase and Mark were blown up.
The current mission is pretty fun - players hide in asteroids and spring a trap on some imperials coming to investigate a shuttle. It's probably on the easier side of things since we emphasized AOE loadouts and the baddies have to weave their way through asteroids.
I think we have enough gameplay under our belt to have some thoughtful commentary:
Predicting enemy movement isn't an exact science, but you can generally figure out their target selection (closest adversary in arc), which is the basis for movement. This makes it somewhat easy to kite enemies around and avoid their firing arcs. Playing against a human, they'll tend to play against what they expect you to do, which isn't really possible here. Instead, the game introduces balance from OP enemies and the fact that higher skill enemies don't have to choose their action in the blind. But there could be some AI gains if target selection was based off a ranking of available targets and some element of randomness. In fairness, the game creators probably considered this and dropped it in favor of a less cumbersome AI.
A fun house rule would be to deal a random subset of upgrades that'd be available to a given player throughout the campaign. It would defuse some of the wambo combos and push players to make interesting builds they might not otherwise pursue. This might open the door to some sort of counterbalance where players could put a wider variety of upgrades on a given craft (e.g. A-wing bomber, B-wing with an astromech, whaaa?). It would have to make sense and not be abused, but the Y-wing bomb loadout and B-wing crew compartment are great, sanctioned mods.
Spacecraft capture rules. Something like 2-3 consecutive ion hits would render an enemy inert and capturable at mission end, so long as (something like) all remaining enemies are cleared out. Players could then use the stolen fighters (which already has some support in the main game) and a selection of upgrades "found on the black market". This could be balanced by not getting a free new main ship when you do get blown up.
Everyone's favorite X-wing PC game mission: clear the laser minefield. Probably a lot like the minefield mission in Aturi, but with range two laser mines that can hit you if, say, your speed is less than three.
Moving into the TIE Fighter era: a mission using an interdictor cruiser. Players get yanked from hyperspace, surrounded by TIEs, and have to survive/escape.
Knowing the full mission scenario beforehand is strategically advantageous, but it'd be more immersive (and harder) to have a the details fed in realtime. There's always the DM approach, but a deck of cards with information provided at a given round would work well too.
Full epic build
Corvette Fore
PS4
84
Pilot
Corvette Fore
50
Title
Tantive IV
4
Crew
Han Solo
2
Team
Gunnery Team
4
Crew
Weapons Engineer
3
Hardpoint
Homing Missiles
5
Hardpoint
Proton Torpedoes
4
Team
Sensor Team
4
Team
Ordnance Experts
5
Cargo
EM Emitter
3
Modification
None
0
Corvette Aft
PS4
54
Pilot
Corvette Aft
40
Title
None
0
Crew
WED-15 Repair Droid
2
Hardpoint
Homing Missiles
5
Team
Engineering Team
4
Cargo
Backup Shield Generator
3
Modification
None
0
B-Wing
PS5 + 2
42
Pilot
Nera Dantels
26
Title
None
0
Elite Talent
Veteran Instincts
1
System
Trajectory Simulator
1
Cannon
None
0
Torpedo
Extra Munitions
2
Torpedo
Proton Torpedos
4
Modification
B-Wing/E2
1
Crew
Sabine Wren
2
Bomb
Proton Bombs
5
A-Wing
PS5
22
Pilot
Gemmer Sojan
22
Title
A-Wing Test Pilot
0
Missile
Chardaan Refit
-2
Elite Talent
Intimidation
2
Modification
None
0
HWK
PS4
26
Pilot
Roark Garnet
19
Title
None
0
Turret
Ion Cannon Turret
5
Crew
Tactician
2
Modification
None
0
HWK
PS8
32
Pilot
Jan Ors
25
Title
None
0
Elite Talent
Trick Shot
0
Turret
Dual laser turret
6
Crew
Dash Rendar
2
Modification
None
0
X-Wing
PS8 + 2
38
Pilot
Wes Janson
29
Title
None
0
Elite Talent
Veteran Instincts
1
Torpedo
None
0
Astromech
R2-D2
4
Modification
Shield Upgrade
4
I hear it's amazing when the famous purple stuffed worm in flap-jaw space with the tuning fork does a raw blink on Hara-Kiri Rock. I need scissors! 61!
I set up a remote X-Wing miniatures match for Jon and Rob. It gets heartwarmingly LARPy.
Related / external
Risky click advisory: these links are produced algorithmically from a crawl of the subsurface web (and some select mainstream web). I haven't personally looked at them or checked them for quality, decency, or sanity. None of these links are promoted, sponsored, or affiliated with this site. For more information, see this post.
The rapid progress in deep reinforcement learning (RL) over the last few years holds the promise of fixing the shortcomings of computer opponents in video games and of unlocking entirely new regions in game design space. However, the exorbitant engineering effort and hardware investments required to train neural networks that master complex real-time strategy games...


![[+]](https://www.chrisritchie.org/kilroy/archive/2018/05/dogawa.jpg)
![[+]](https://www.chrisritchie.org/kilroy/archive/2015/07/warrior.jpg)
![[+]](https://www.chrisritchie.org/kilroy/archive/2018/03/monster_hunter_cannon_loading_sim.jpg)
![[+]](https://www.chrisritchie.org/kilroy/archive/2016/04/division_helo_00.jpg)
![[+]](https://www.chrisritchie.org/kilroy/archive/2018/03/monster_hunter_zorah_ships.jpg)
![[+]](https://www.chrisritchie.org/kilroy/archive/2015/11/deezer.jpg)
![[+]](https://www.chrisritchie.org/kilroy/archive/2018/01/horizon_thunderjaw.jpg)
![[+]](https://www.chrisritchie.org/kilroy/archive/2017/07/dying_light_mother.jpg)
![[+]](https://www.chrisritchie.org/kilroy/archive/2018/05/sea_of_thieves_boned.jpg)
![[+]](https://www.chrisritchie.org/kilroy/archive/2015/12/nick_valentine_00.jpg)
![[+]](https://www.chrisritchie.org/kilroy/archive/2018/01/horizon_weapon_wheel.jpg)
![[+]](https://www.chrisritchie.org/kilroy/archive/2015/12/diamond_city_00.jpg)
![[+]](https://www.chrisritchie.org/kilroy/archive/2018/04/monster_hunter_handler.jpg)
![[+]](https://www.chrisritchie.org/kilroy/archive/2015/02/far_cry_view_00.jpg)